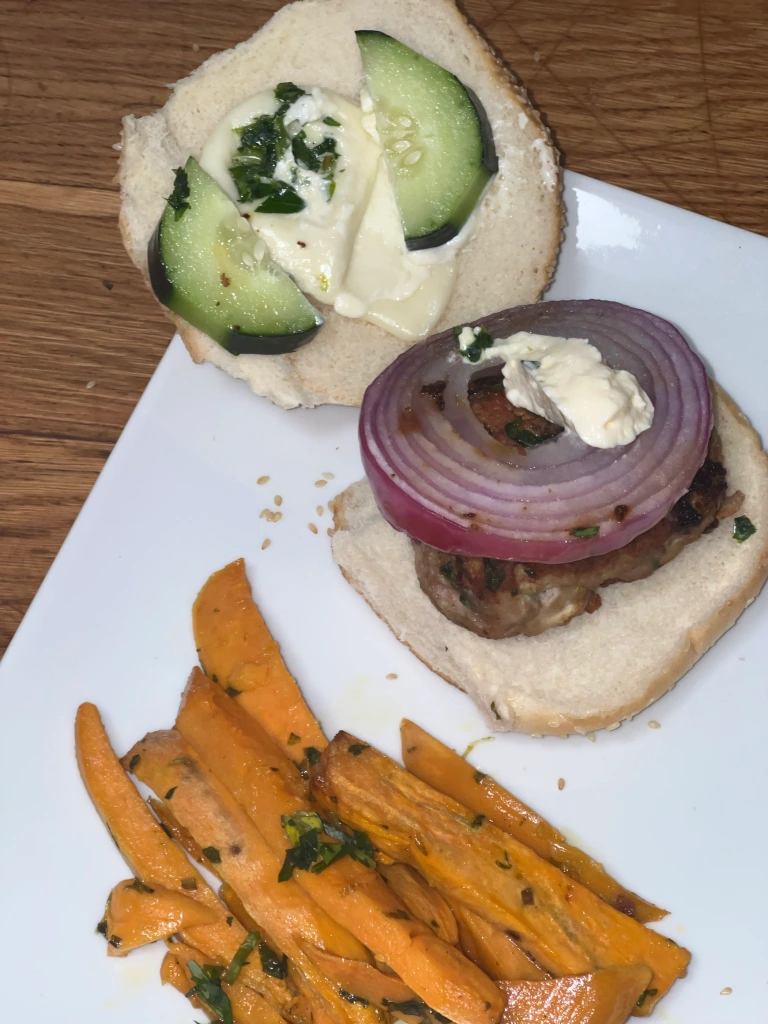
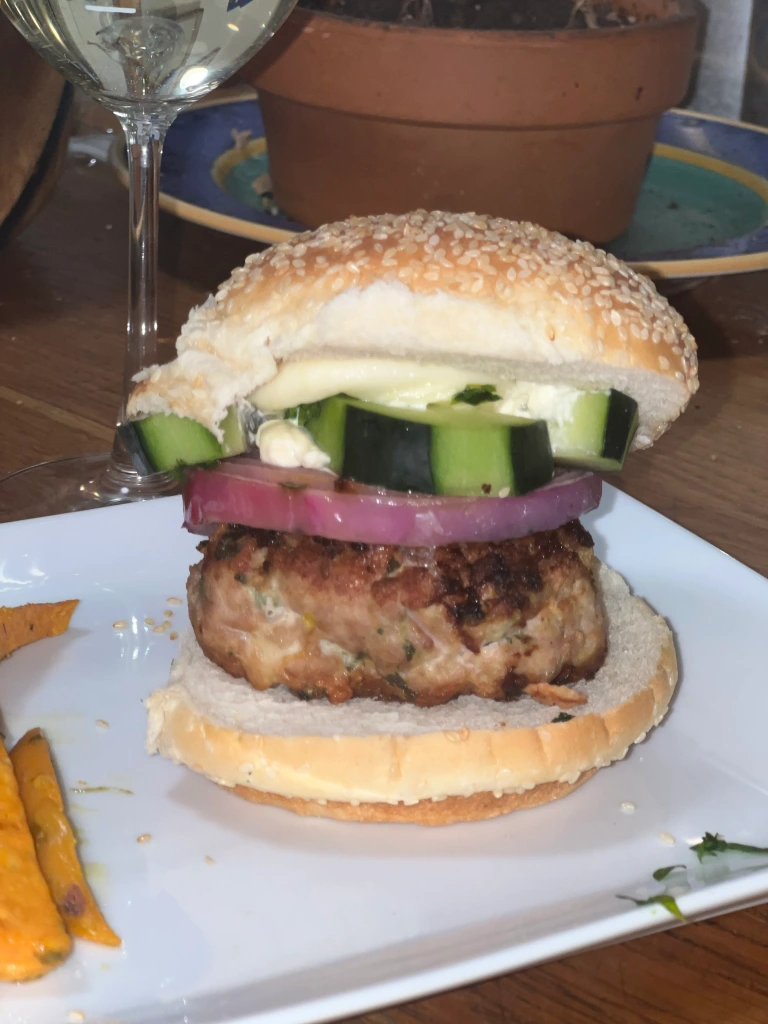
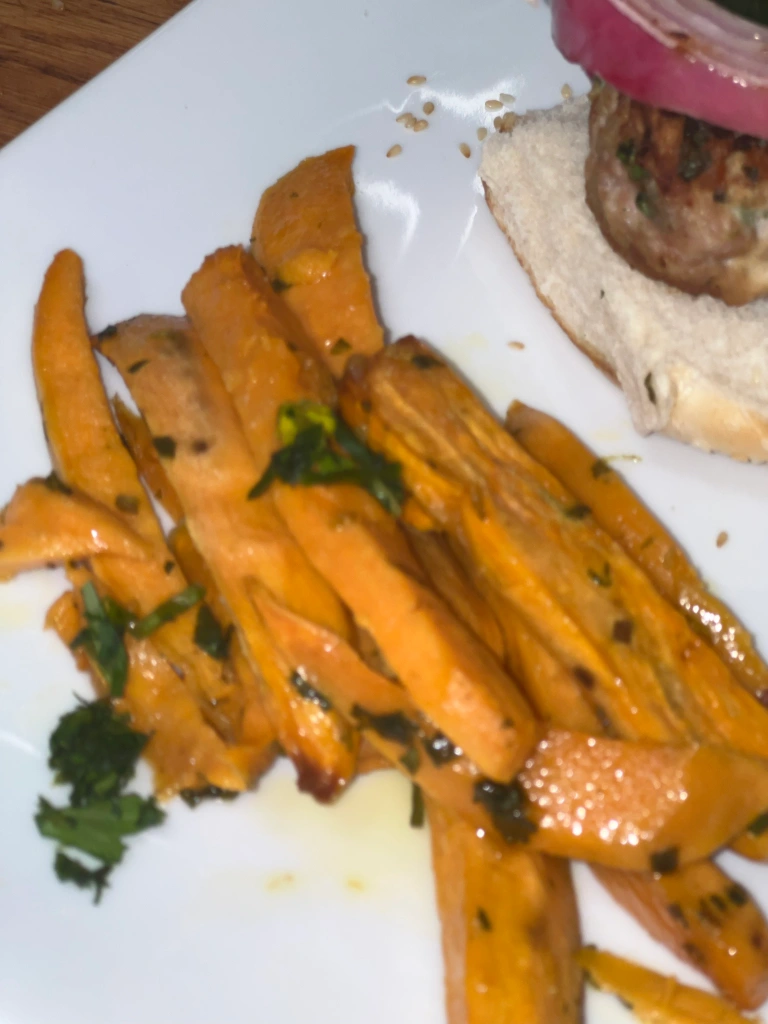
I made sweet potato fries and turkey burgers with mozzarella, red onions, and cucumbers. Inside the burger I put green onions and chop fresh parsley.
Food lover, Traveler, Recipes, Lifestyle
I made sweet potato fries and turkey burgers with mozzarella, red onions, and cucumbers. Inside the burger I put green onions and chop fresh parsley.
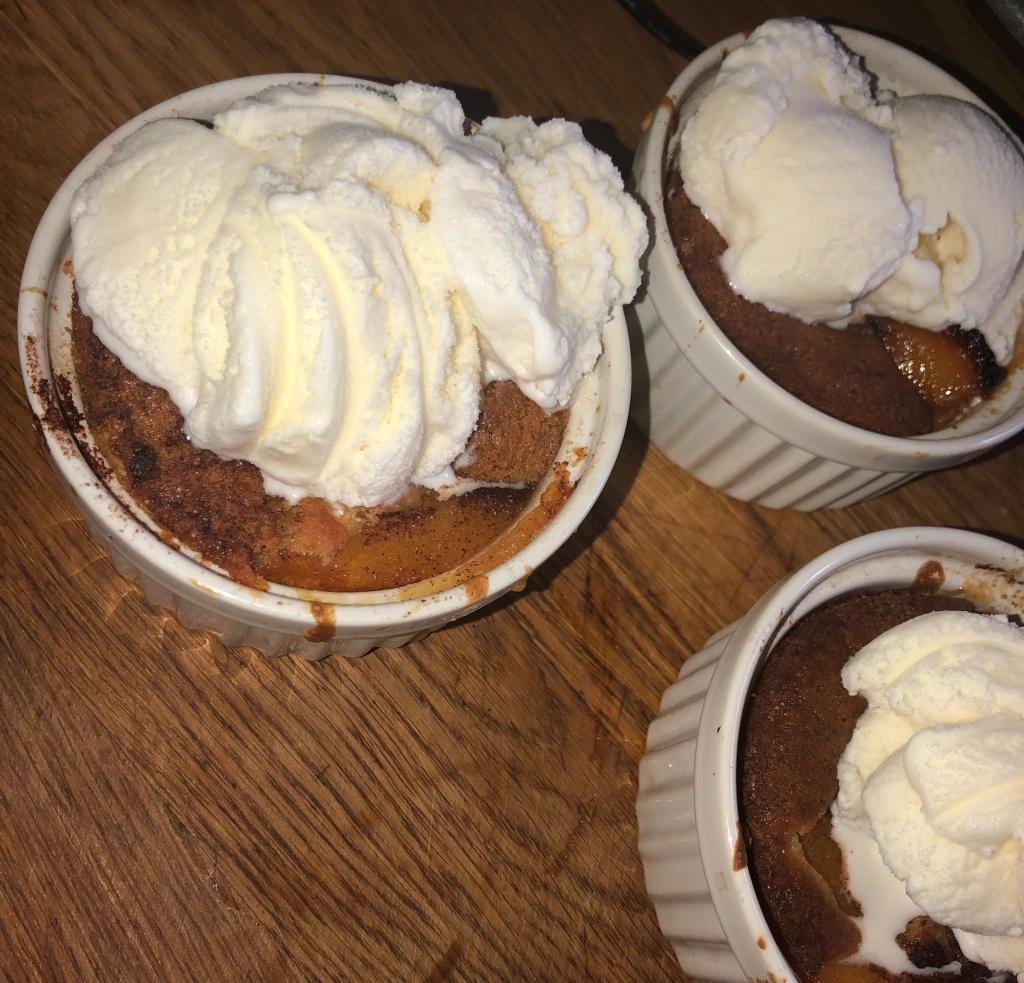
Had a craving for my Mother’s peach cobbler! Although My Mom has passed, her desserts will always live on through me. My vivid memories of her, was watching her cook as a kid. And, peach cobbler was definitely one of the desserts I witnessed my mom make. And, probably participated in help making.
I suppose I’m just reflecting my precious time that I had on this earth with her. However, my Momma’s food was always the one thing I needed to feel blessed! Especially, when life brought me down. I’m always yearning for that feeling of home, because my Mom made being home, a secure and loving place. of course I’ll probably never recapture the actual feeling. However, I’m damn sure gonna try.

This recipe is not exactly like my Mom’s, and not that her ingredients was less than or more than. I’m a culinary enthusiast, so I’m always gonna mix and match flavors.
Cook time: 40 min at 350 degrees
How to make:
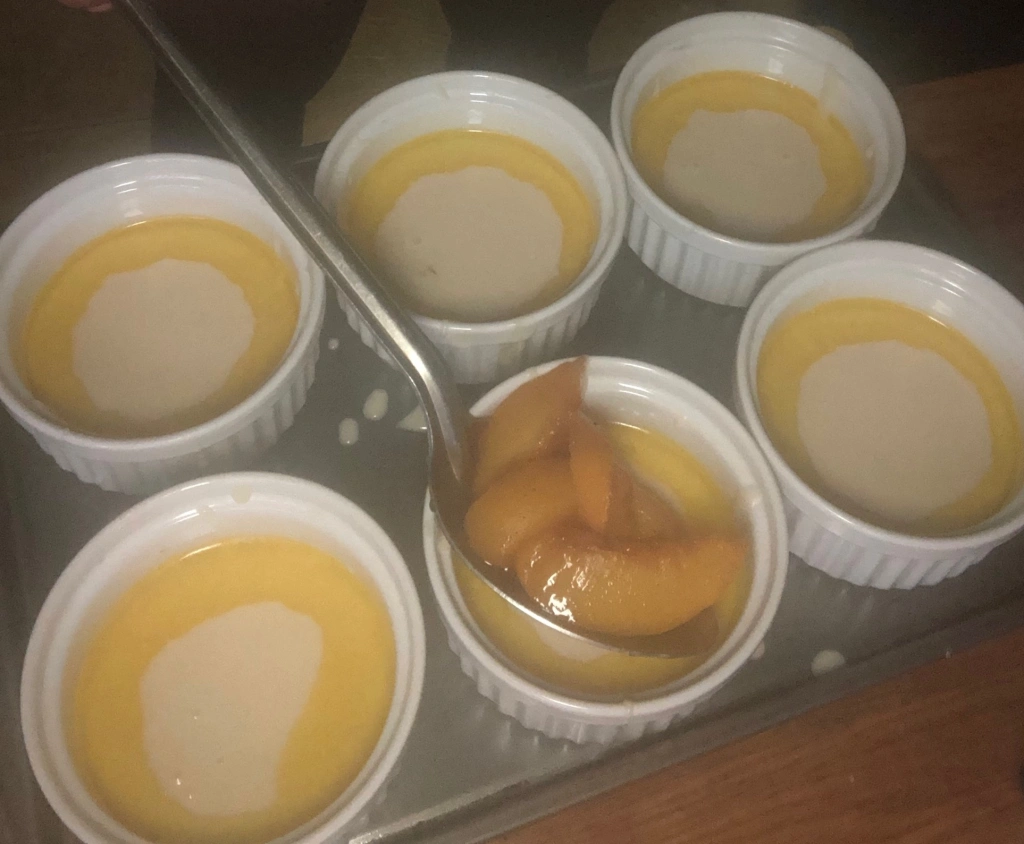
Place peaches (drained from can) in a sauce pot, and add the sugar, brown sugar, salt, vanilla extract, nutmeg and cinnamon.
Cook for 6 to 7 minutes, set aside to cool.
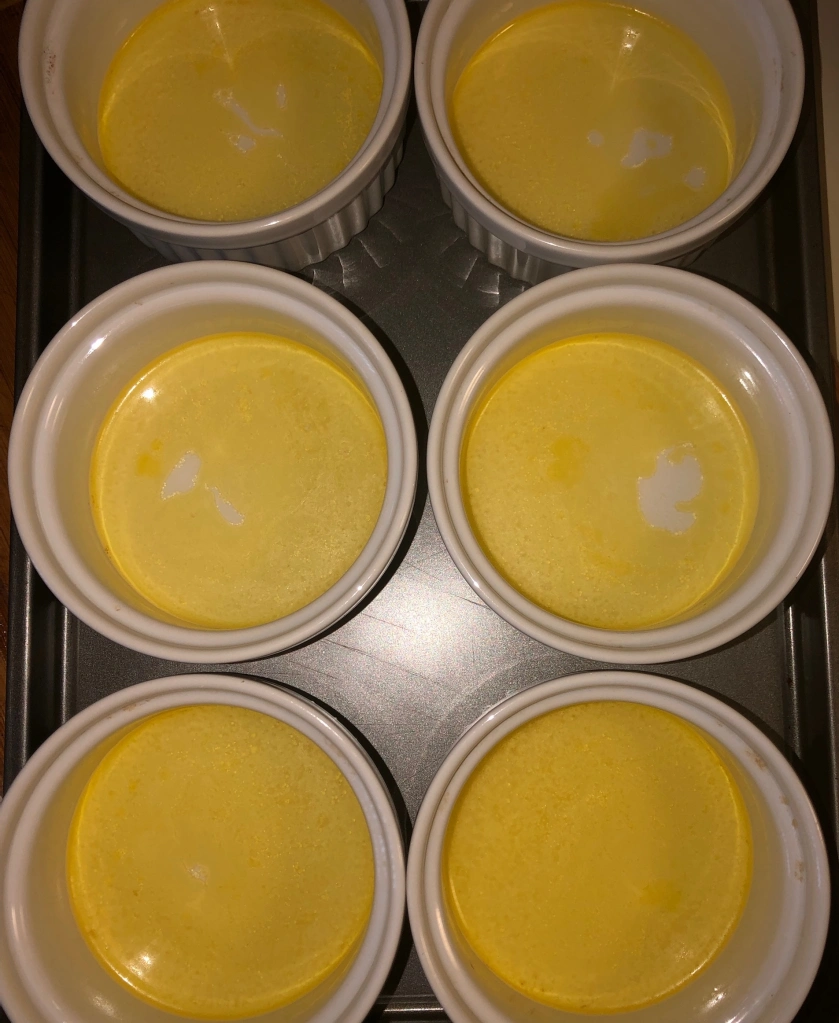
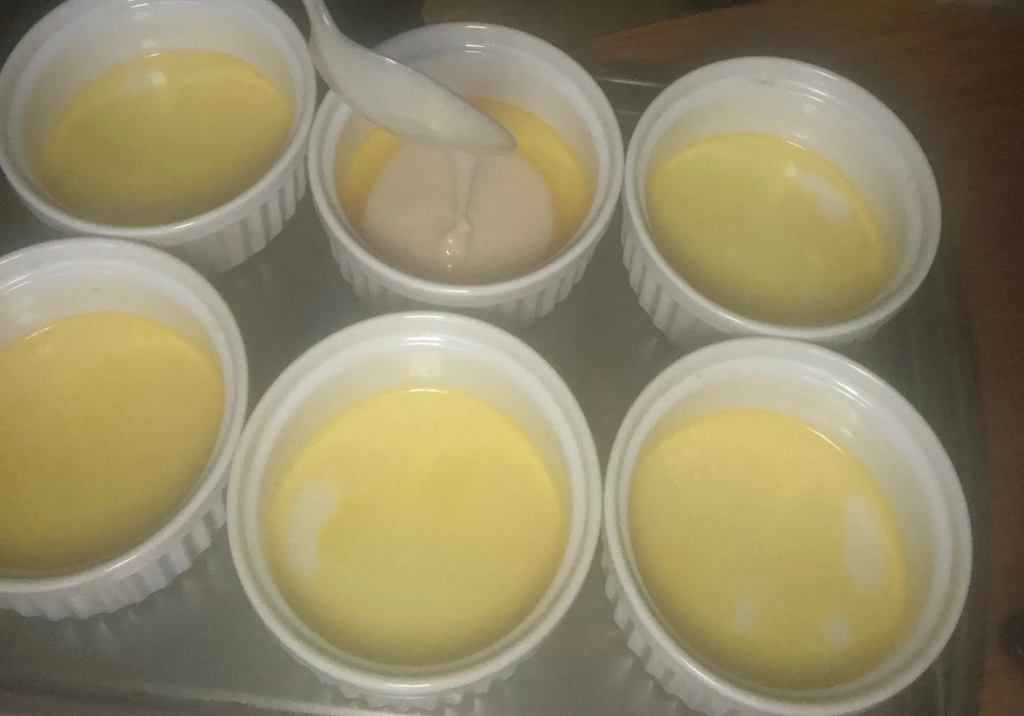
I used ramekins for my desert. Place a slice of butter in each ramekin. Melt butter in your preheated oven, let melt for couple minutes.
While butter is melting, mix your batter ingredients with a whisk. Once smooth , add to your ramekins evenly.
With a saucing spoon, layer your peaches on top of batter in the ramekins. Sprinkle cinnamon on top.
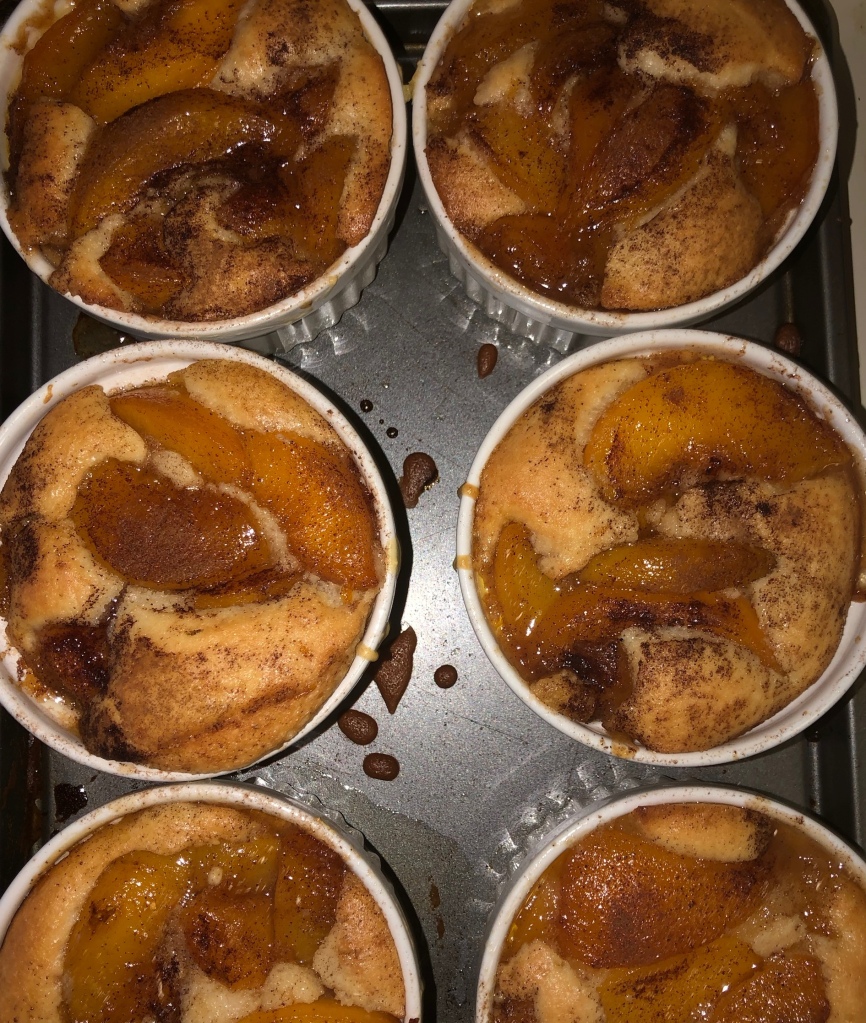
Place ramekins in preheated oven for 40 min., at 350-375 degrees.
Then enjoy! 😋
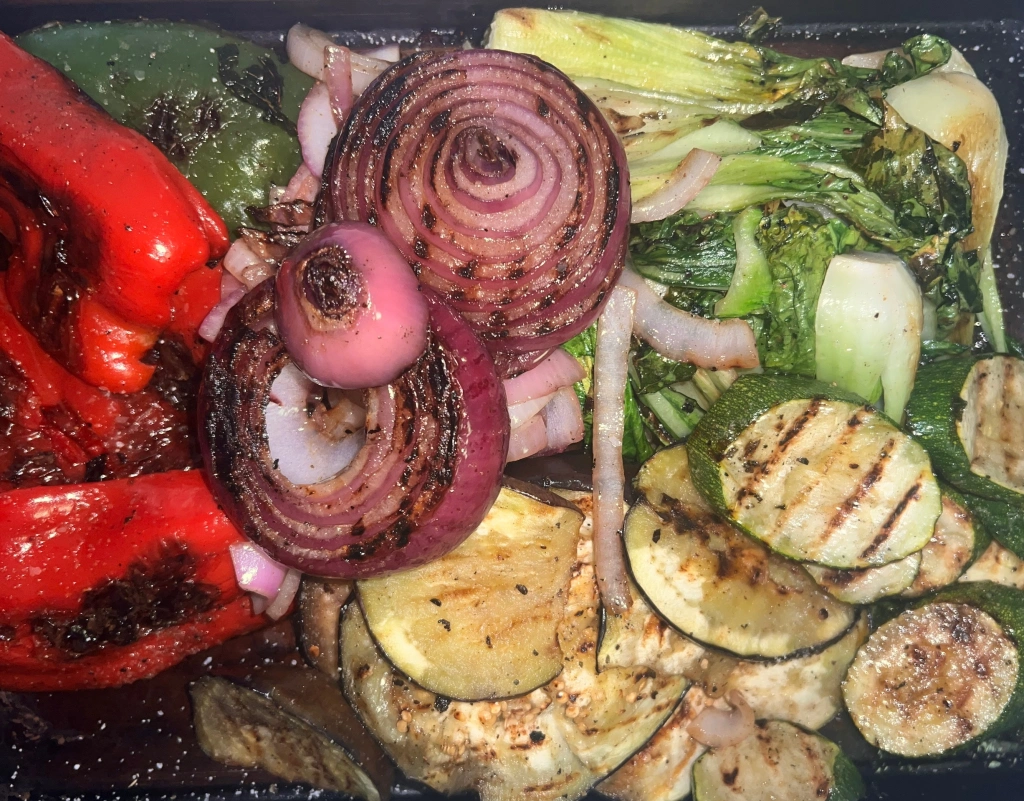
So! If you’re like me, and live in a big city! Getting to a backyard for a barbecue is hardly not in your immediate plans. However! You can bring the backyard to your kitchen, with a simple grill pan, vegetables and a flank steak!
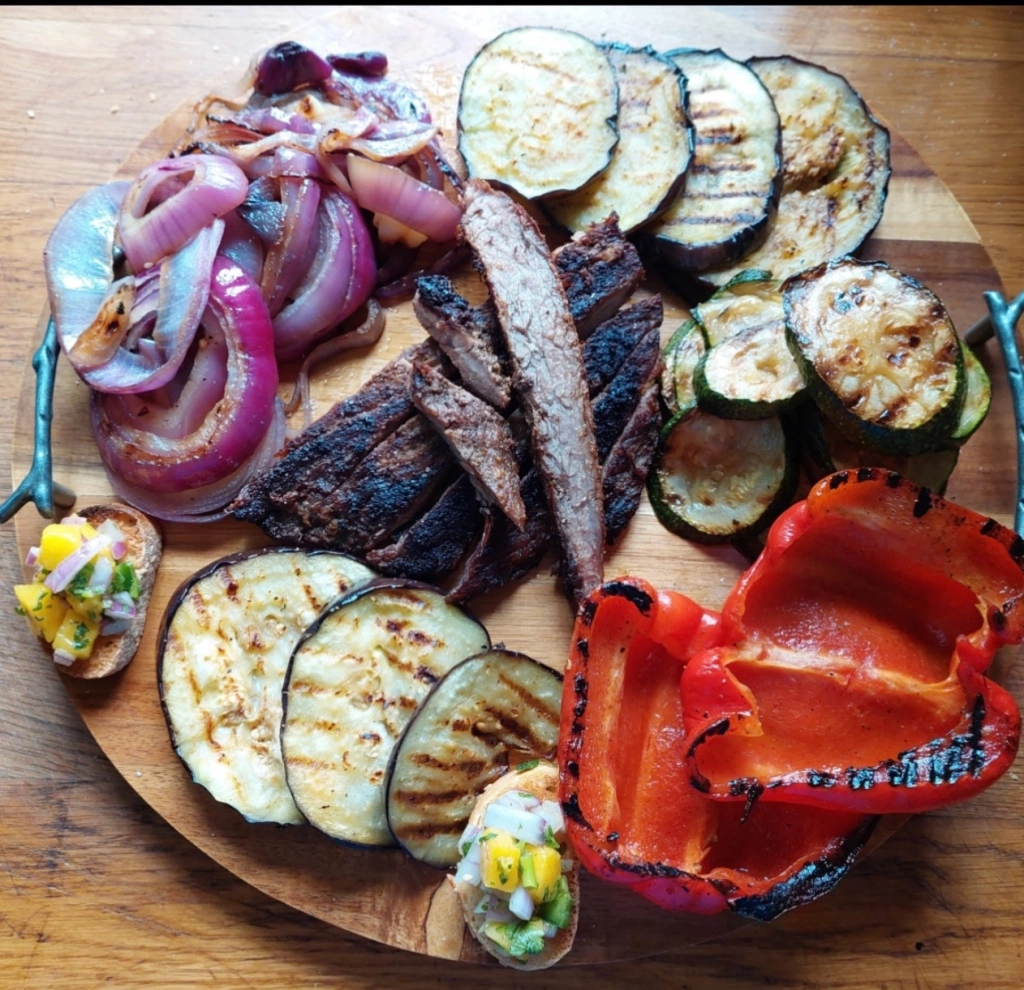
The preparation for this tasty grub is so easy, and quite frankly grilling is not just for Summer, and it’s done right in your kitchen! This dish is so scrumptious, that you’ll want to make it all year round.
Ingredients:
ANY VEGETABLE YOU WANT TO GRILL
ANY KIND OF STEAK YOU WANT TO GRILL
Salt and pepper to taste
Marinade for the Steak
Garlic powder
Onion powder
Oregano
Adobo
Sazon
Five spice powder
Mustard
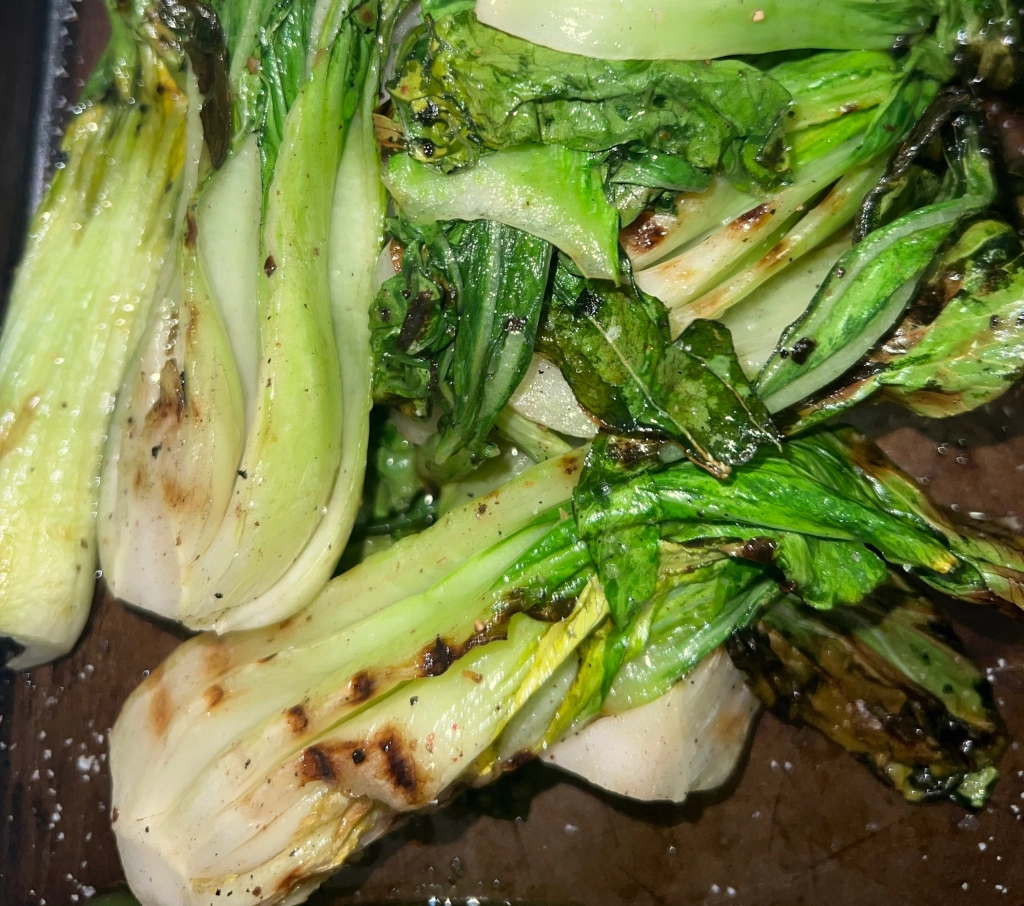
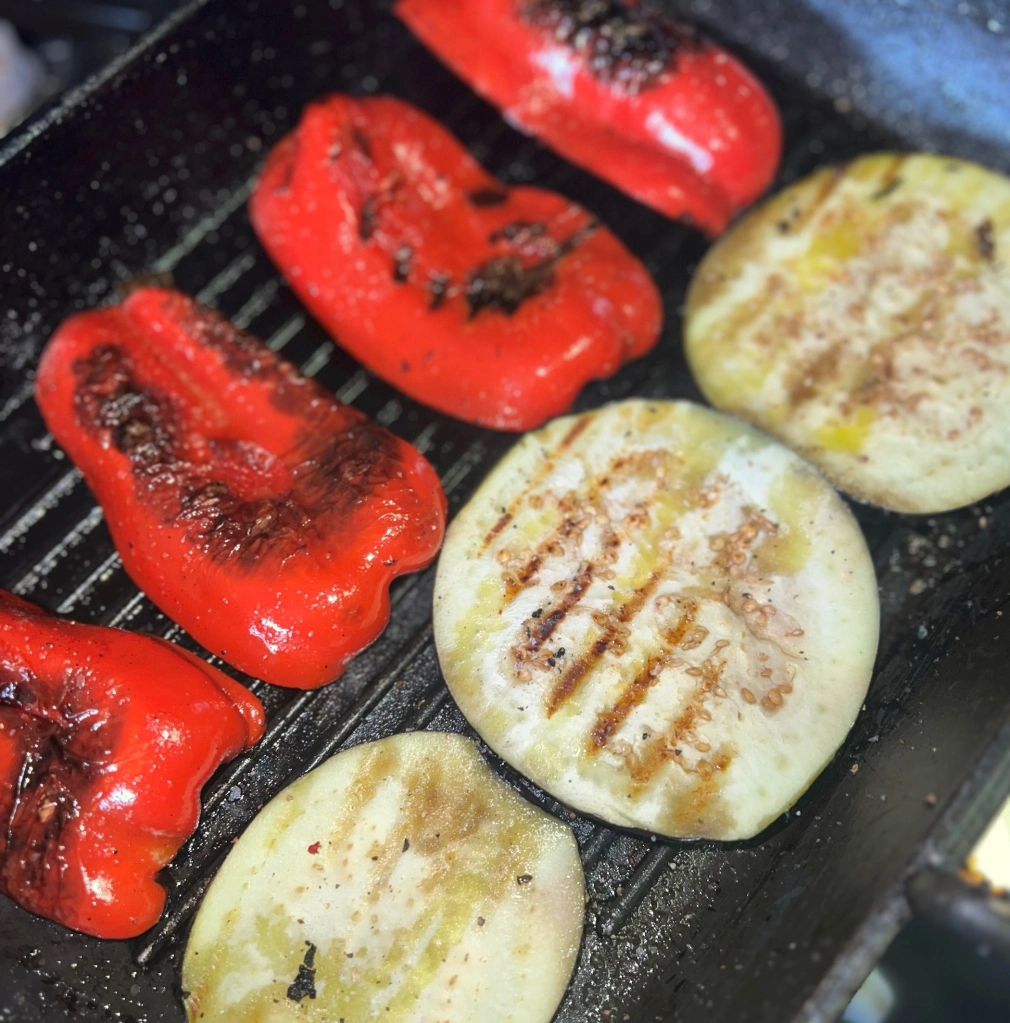
Depending on the vegetable, it may take from two minutes to 5 minutes to grill a certain vegetable. Let your nose do the cooking. Because, once you smell it, and it smells delicious, well then you know it’s done. Make sure you also see those grill marks, because that’s where the flavor is.
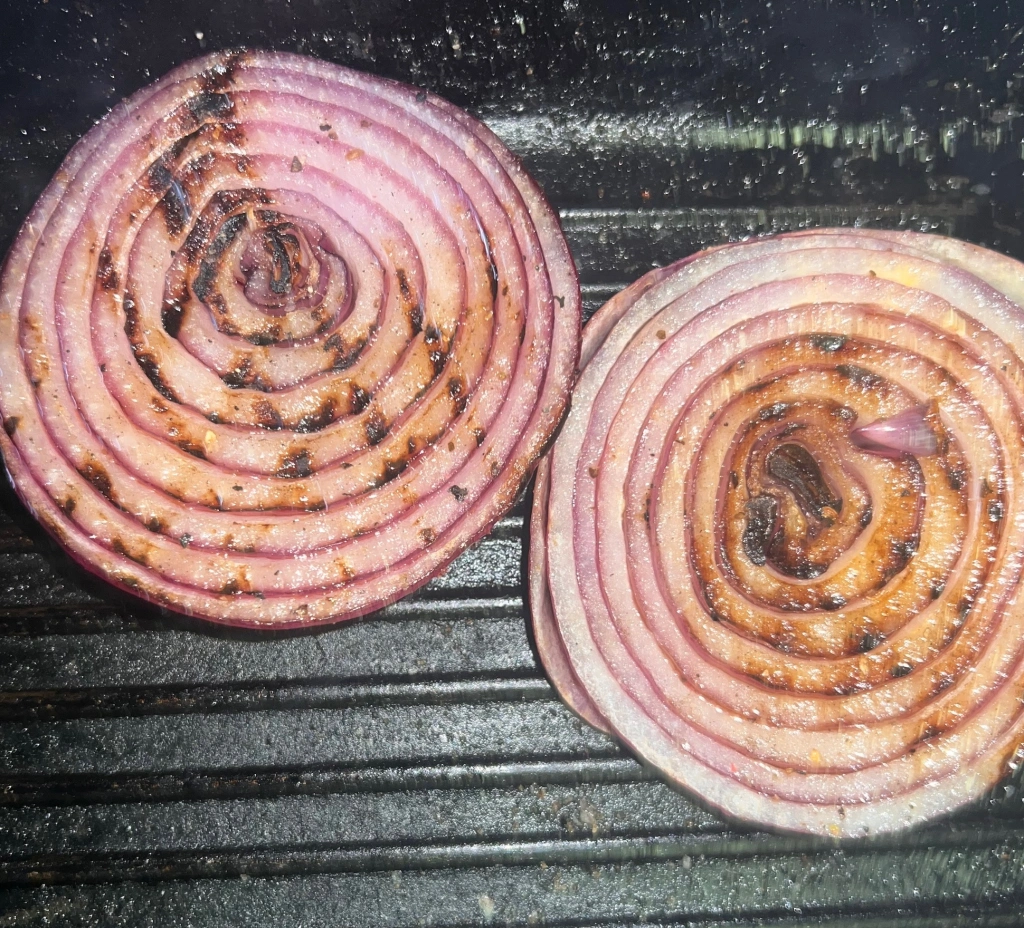
Please salt and pepper your vegetables during the cooking process each time your turn the vegetables over. Salt releases the juices, if you salt too early, veggies will have a harder time getting those grill marks.
Marinate your steak in a large size ziplock bag. And refrigerate for an hour. than it ready to grill.
I usually take my steak medium well. I suggest you cook your steak at least 3 to 4 minutes on each side, to get that browning. And, put in the oven on 400 degrees for 6, 8 or 10 minutes, I say that, because when I was in culinary school, the oven’s were fantastic and top quality. Unfortunately, my stove is apartment quality. So please, watch your meat! Whether you use a regular pan or a grill pan, this is my recommendation.

I really love making this dish, because it was so easy, and so tasty.
Side bar: Add a couple of Pina Coladas, and you’re all set.
This dish is a part of my Easy lite Summer Foods and desserts recipes. So keep checking in for more great ideas! Happy Summer!
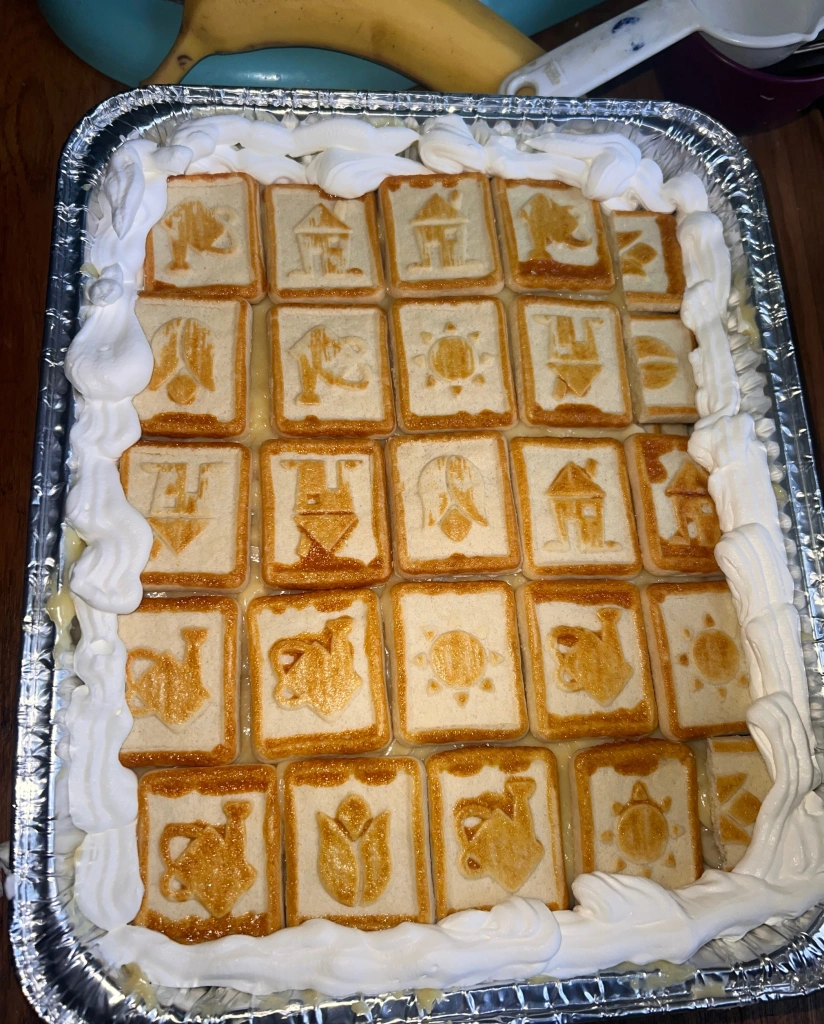
I have to admit, I never liked banana pudding growing up as a kid. Even now being an adult, when I would go to parties, events etc., and if banana pudding was being served for desert, I’d always pass. However, going to culinary school, my pallet was developed to taste! Whether the foods looked appetizing or not. The lesson was to put all flavors in perspective. Basically, that means making a dish, and remembering flavors that I’ve come across to add to a dish, mixing or matching, combining with what taste great together, or not.
During this pandemic, my nice neighbor (again) was kind enough to look out for me, and spot me some groceries that she got from the food pantry. Because, I’m an essential worker, she worries about me and I appreciate it. So I rarely turn her down when she offers. I don’t like letting food go to waste, if y’all remember in my “Happy Fourth of July America” article. The same neighbor that had given me bags of apples, which I used to bake my first apple pie. She blessed me again with a bushel of bananas. What’s strange to me is my first thought was to make banana pudding. Yes, I’ve explain at the top of this article, I don’t like banana pudding. But, my goal was to not let these bananas go to waste.
So the decision was made, banana pudding it is. I told myself if I didn’t like it, my neighbors will have an awesome treat to enjoy. It was so simple, and easy to execute. After it chilled, I actually couldn’t wait to taste it. I swear, I’m not trying to pat myself on the back, but it was the most delectable desert I’ve tasted. I was so proud of myself, couldn’t wait to share with my neighbor, and let her know, “this was your doing!”

Ingredients
Mix (preferably with a hand mixer) sugar, instant pudding, cornstarch in bowl with milk and vanilla extract. Mix until it thickens.
Add 1/2 tub of Cool Whip. Stir well until fluffy.
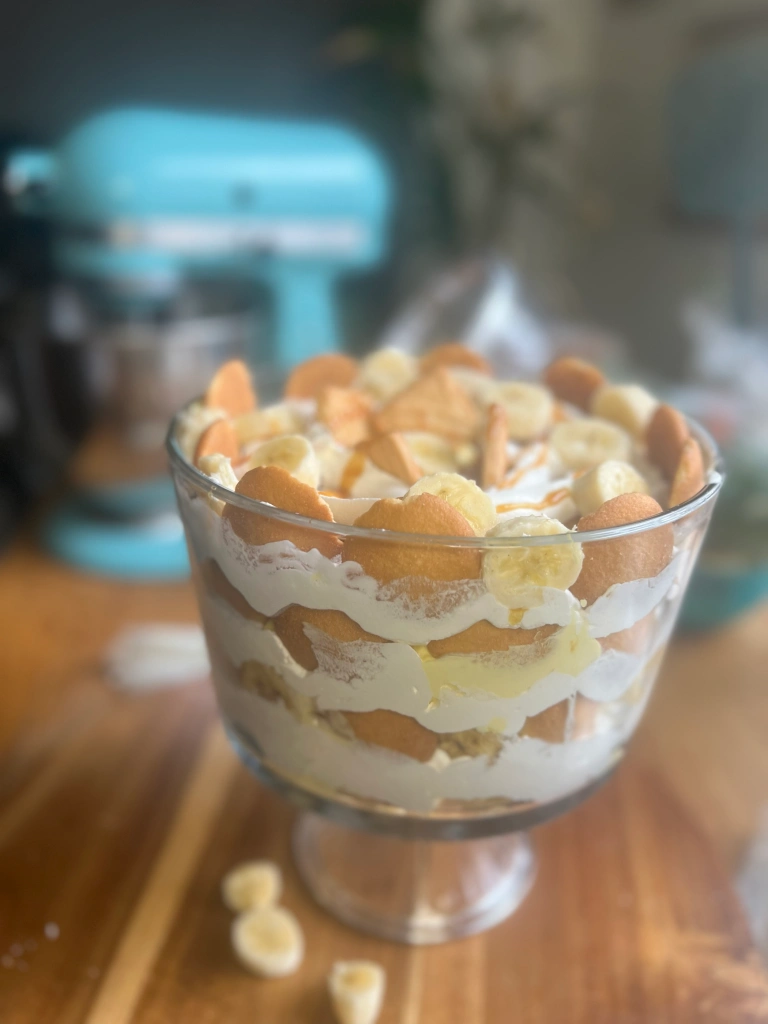
Layer bottom of bowl with vanilla wafers.
Next layer is 2 or 3 cut bananas.
Next layer is 1/2 of pudding mixture.
Next layer is vanilla wafers.
Next layer is last 2 or 3 cut bananas.
Pour rest of pudding mixture over that.
Top with final layer of Cool Whip.
Chill for 1 to 2 hours, overnight is even better, and serve!
Check out my YouTube channel “francie Blakes” to see how I supersized my my banana pudding trifle. 😋

Well! The travel is back on. I love exploring the world, and Africa was on my list. Yes! It took almost a day to get there, and yes that long flight wasn’t easy. However, I was not disappointed.
Cape Town is full of beautiful people, food, culture, and mountains! I was always in awe of the sceneries, and landscapes. Capturing the beauty on pictures cannot compare to what the eye beholds.

I spent 10 days in Cape Town, which was not long enough. I felt so welcomed by the people, and for me, I needed to touch the “Motherland”.
I experienced tastings of African food, music, and city life. The restaurants, bars, lounges, and malls reminded me of my hometown New York.
Uber is your friend in Cape Town. You can go practically anywhere for way less than what you may expect to pay in the US.
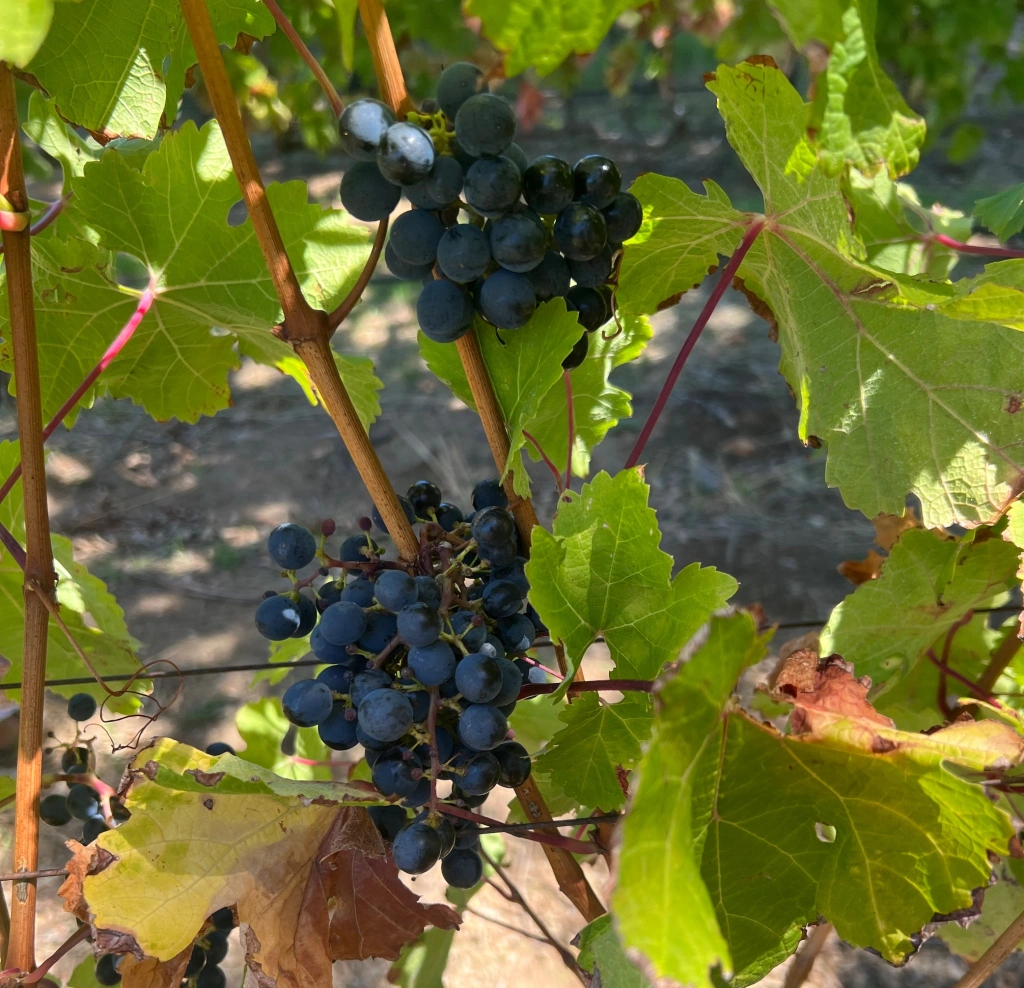
My first tour was the Groot Constantia Winery, which is a beautiful estate. They’ve been in business for over 300 years.


Another tour was a safari. (Real animals y’all). It’s not as dangerous or scary as some would think. However, we were read the rules, and had to sign contracts so the park won’t be held liable. However, it was Absolutely amazing! I love animals, and I did not feel that I wasn’t safe at anytime.


Check out my YouTube channel “Francie Blakes” for travel vlogs of South Africa, and food presentations.
Like and subscribe, so you can get notified when I put up a new blog/vlog.
Funny that this dish is the first real cooking I’ve done, since being home from South Africa two weeks ago.
Maybe I am just an all American girl???
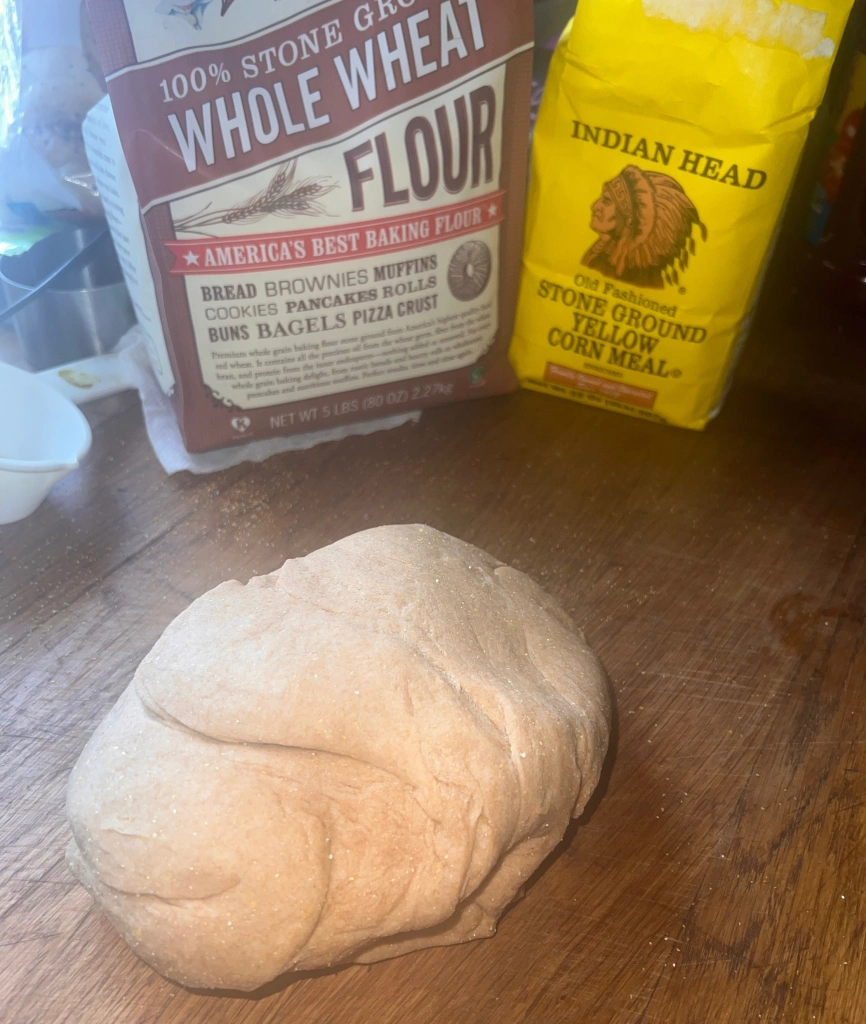
This dish is easy, yet it’s made in components. So it’s a little time consuming. The sauce, the sausages, grating the cheese. Cutting vegetables. And, the dough! (Which takes two hours to rise).


Ingredients for the dough:
Filling/Toppings
For the sauce
How to make dough:
Start with warm water (microwave for 15 seconds). Add yeast and honey, whisk let stand for 3 to 5 minutes until you see foaming at the top.
Use a kitchen aid, (it just makes life so much easier). Add the wheat flour, salt and olive oil. If you do have a kitchen aid, use the swirl paddle for mixing dough.
Once the dough comes together, pour on to flat surface and knead for 6 to 8 minutes. Use cornmeal on the surface before kneading. Have an aluminum bowl ready, with olive oil at the bottom.
Mold your dough into a ball. Also, your dough at this time after kneading should bounce into shape, when you poke you finger into it.
Place your dough into the aluminum bowl making sure it’s completely coated with the olive oil.
Cover bowl with a kitchen towel, and place in a warm area in your kitchen.
Wait two hours for the rise. In the meantime cook the sausages in a pan with a little olive oil. Set aside, using the same pan that the sausages were cooked in, add the ragu (both jars). Then add the diced green peppers and onions, and the dry seasonings (adobo, garlic powder) according to taste.
Cut dough in half, or according to how big the removable baking pan you’re using. Then roll it out with rolling pin.
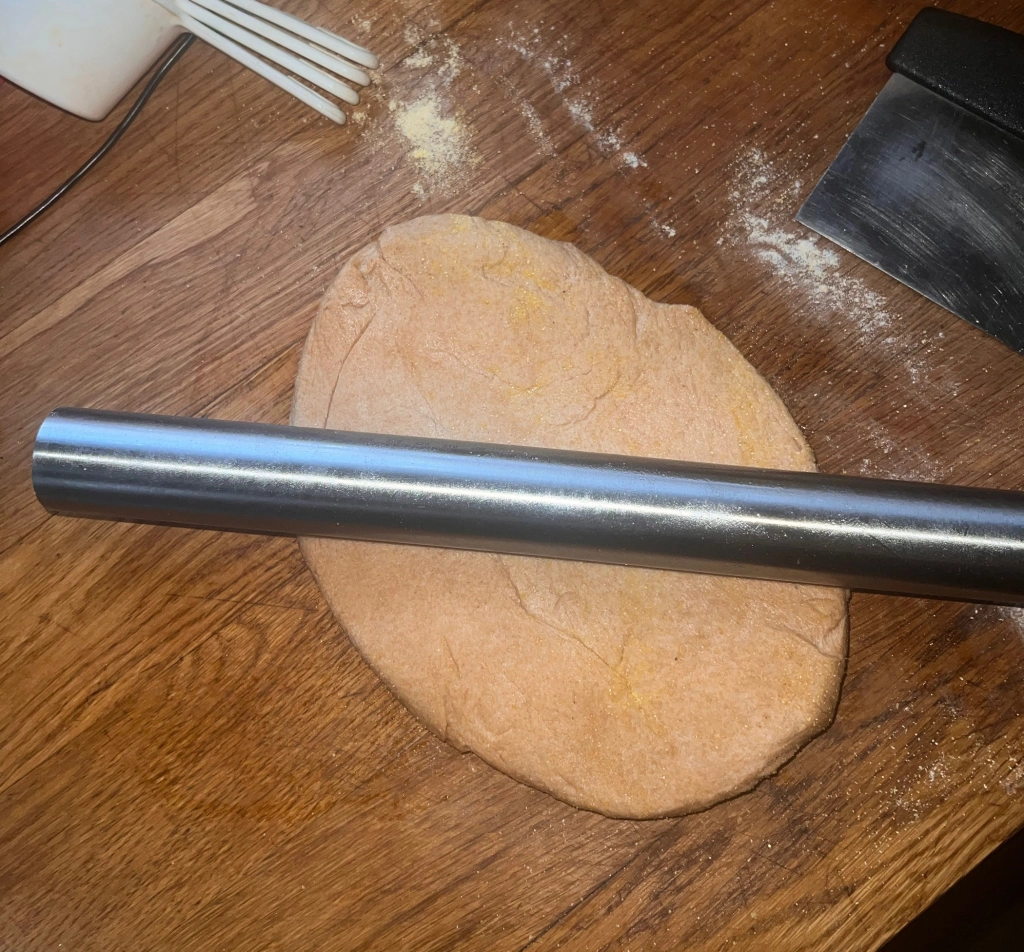

Brush olive oil in pan, shape dough around the pan, then brush whole wheat dough with olive oil. Layer the mozzarella cheese to the bottom, then sausages, sauce, then top with more shredded mozzarella cheese on top, and pepperoni.
Bake at 375 for 25 to 30 minutes.

Enjoy!!!
I just love the simplicity of this dish! If you love one pot meals, than this delicious Italian “poor man’s food is for you. I’ll admit I was watching a cooking show, that explored some regions in Italy. It brought me back to my culinary school days. We had to study where and how foods were used in the different locations of Italy. Like cheeses, wine and certain animals.
Spaghetti carbonara back in the the 1950’s were considered a poor man or working man’s dish. Hell! With the price of eggs nowadays, I’d have to contemplate that. These were simple ingredients that most people had on hand in their homes.
Ingredients
Linguine or Spaghetti 1 box
Bacon 1 pack and a half
*1 large red bell pepper
1 lg eggs
Fresh parsley
Parmigiana reggiano
Salt and pepper to taste
This recipe renders 6 to 8 servings
*Feel free to use any veggies you want ie: peas, green bell peppers etc.
How to make
Remember, I said this is actually a one pot dish. Cook the pasta according to the package instructions (please don’t forget to add salt to the water). Once you get a boil, drop in your pasta.
Once the pasta is cooked, set aside in a separate bowl with about a cup or so of the salted pasta water, then cover with aluminum foil.
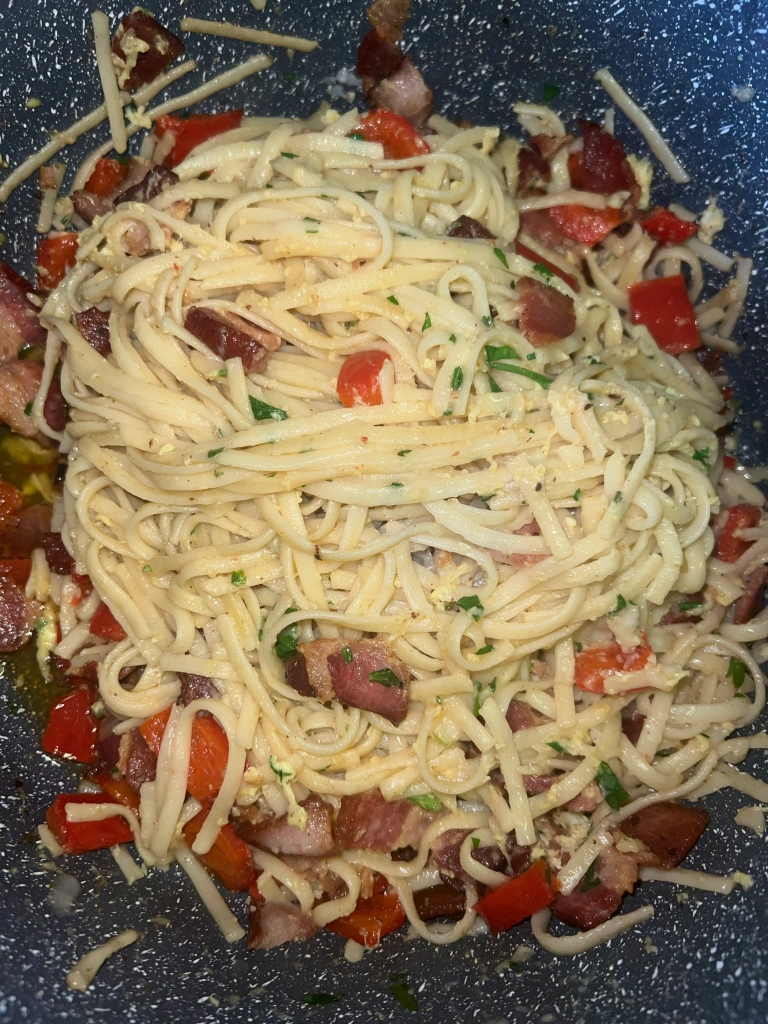
In the same pot you boiled your pasta, put the cut up bacon and set flame to medium heat. When bacon is 90% done, add veggies (in this case the cut up red bell pepper). Cook for a few minutes until peppers are medium soft, add a little salt and black pepper.
Add cooked pasta to the pot of bacon and bell pepper, let the pasta soak up the bacon grease, then add the fresh parsley (small dice), and a little shredded parmigiana reggiano.
Let cook for a minute, turn off heat, use a fork to whip the eggs in a bowl. Then pour over in the pot to incorporate ingredients stirring gently to coat.
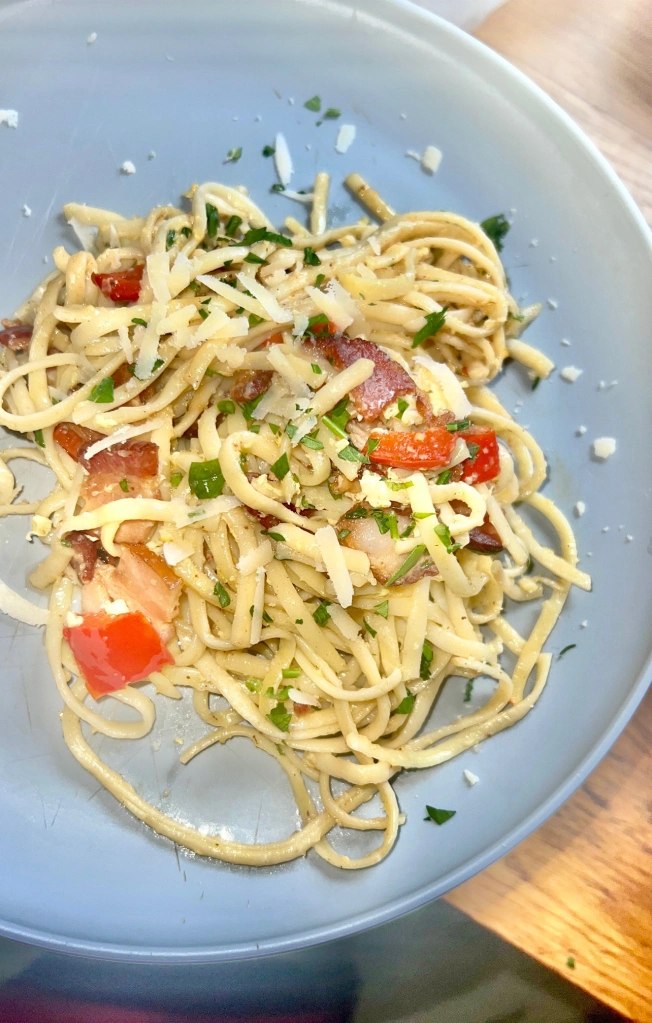
Serve immediately with a glass of red wine, because, to me it makes such a difference with this dish tasting fresh and hot. Sprinkle a little parsley and cheese over the top on the spaghetti carbonara for presentation.
Easy to make and very filling. I do understand why this dish was popular in Piedimonte, Italy many years ago. Ingredients were simple, yet packed a lot of flavor, and filling enough to get villagers through another working day.
Enjoy this amazing dish! I did 😋
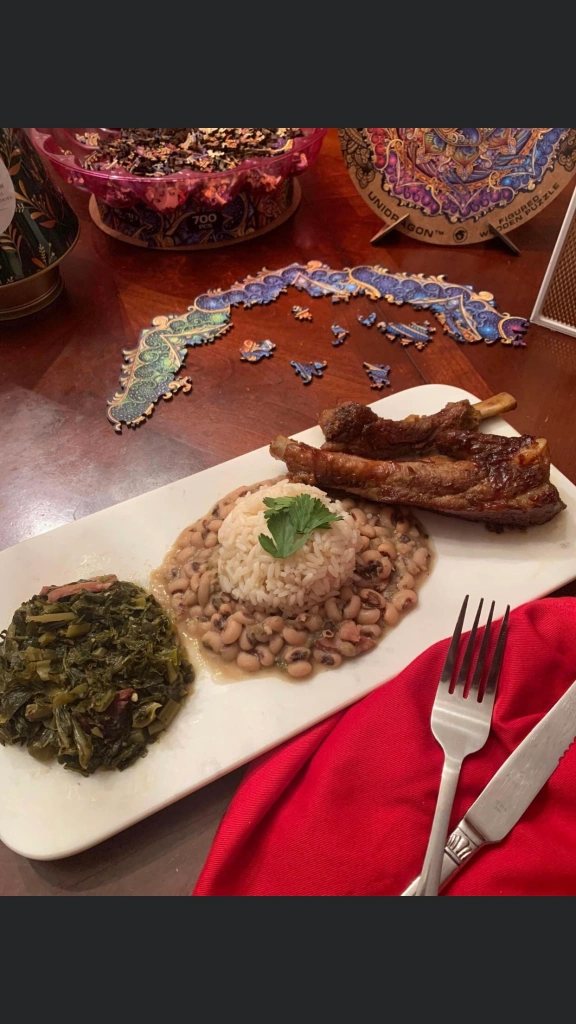
Happy New Year! The above dish was made by my nephew Michael. And, this goes to show that tradition never fades. This dish was certainly a dish my Mom made every New Years Eve. It signifies lots of luck for the new year. Most families that I knew growing up, always prepared black eye peas and collards for luck all year long, in the next new year. It just really made me proud that my nephew continues my family’s southern tradition, with his family. And, I know my mom, his grandma would be proud!
I love the beautiful plating of this dish, and I know it taste awesome!
All the best to everyone in this New Year 2023!
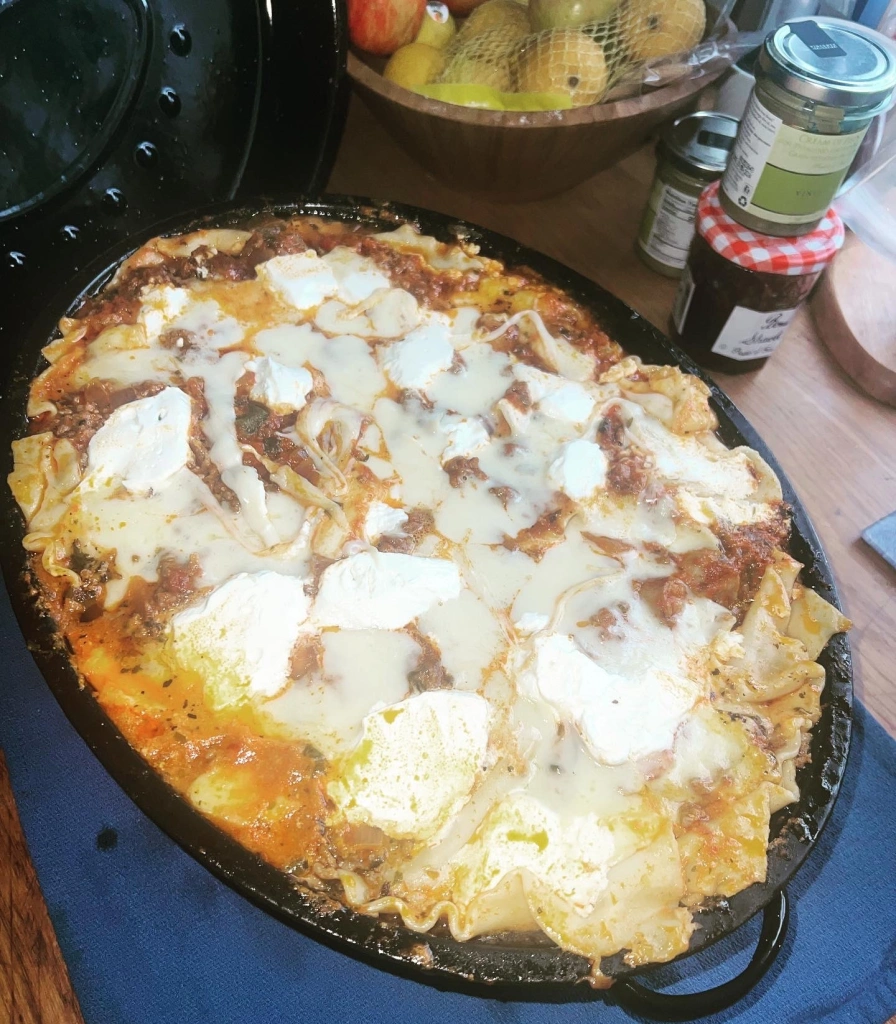
A few years ago, before my retirement. I met a elderly Italian woman at work, who became a weekly customer. I really enjoyed seeing her every week, we’d exchange conversation about food, daily life, politics, and jokes. One day during her visit she casually asked, “what’s for dinner?” I told her, “thinking of making lasagna.” Her eyes widened, she told me she makes her “lasagna in a roasted pan.” Then my eyes widened. She said she added everything but the kitchen table in her lasagna. She said by the time the lasagna was ready to be put in the oven, she needed her son to carry it to the oven, because it was so heavy. I remember her saying, she added sweet Italian sausages to the sauce. For once, I actually never thought of doing that. And, my OCD had me thinking, that I know I make the best tasting lasagna this side of the east coast, besides I’ve been making lasagna since I was 17 years old. But, I told her I would try that. However, timed passed, and I didn’t see her as much. But, that’s how life goes.
I’ve made lasagna since, but not the way that Italian Grandma made, until now. First of all, I didn’t own a roasting pan, thank you Amazon! Order one for the holidays for the turkey on thanksgiving. I remember wanting to make something different for Christmas. So I thought of the lasagna. I think I would of made her proud!
Tools
Roasting pan
Large pot
Ingredients
Chop meat (1 lg pack)
Sweet Italian sausages (2packs)
Onions
Bell peppers (all colors) at least 3 different
Cilantro
Tomato sauce (2 1/2 jars of any tomato sauce you like)
Lasagna pasta (1 and a half boxes)
Ricotta (lg container)
Mozzarella (2 packs)
Dry ingredients
Garlic powder
Onion powder
Adobo
Sazon
1/2 cup of sugar to break bitterness of tomato sauce
How to make
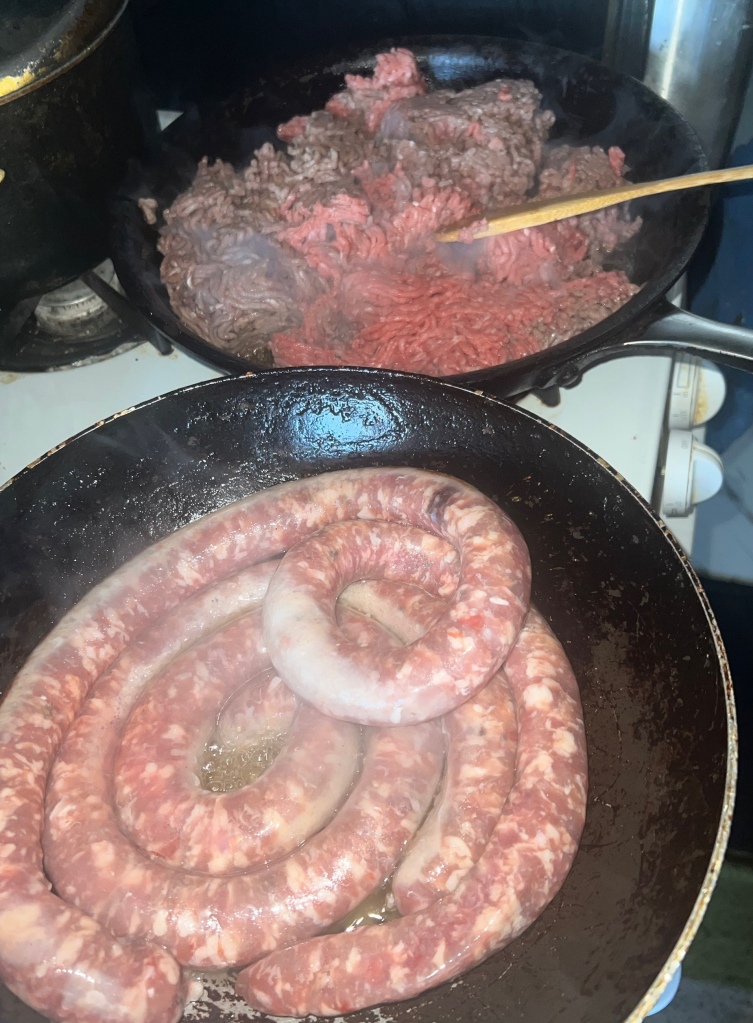
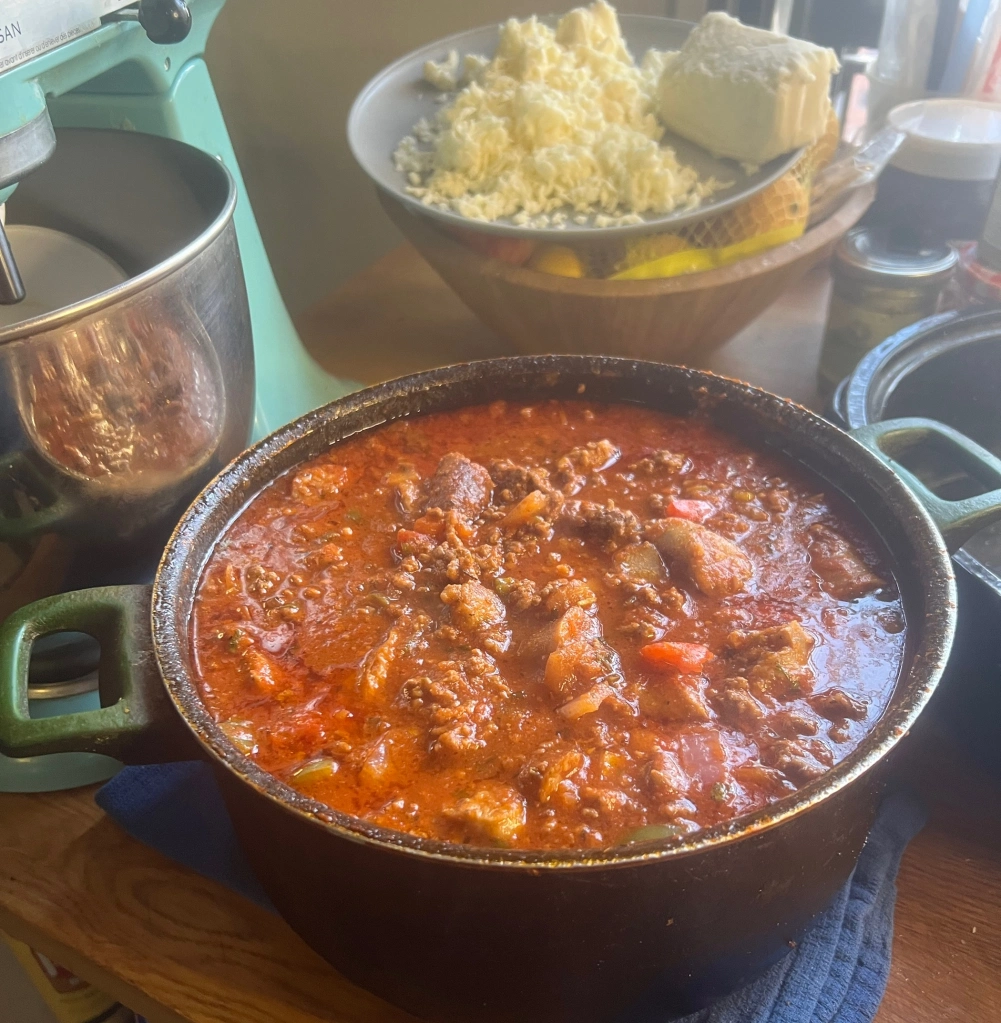
Brown sausage and chop meat in separate pans, with a little canola oil. Once cooked, cut or slice sausages about an inch. Add everything together in a pot. Add sauce, peppers, onions, and all dry ingredients.
As it braises, keep tasting a long the way, to make sure flavors are on point.
Cook pasta according to box instructions. Please don’t forget to add some salt to boiling water!
Once sauce is done, and pasta is cooled. Start layering.
* Check for demo in lower paragraphs.
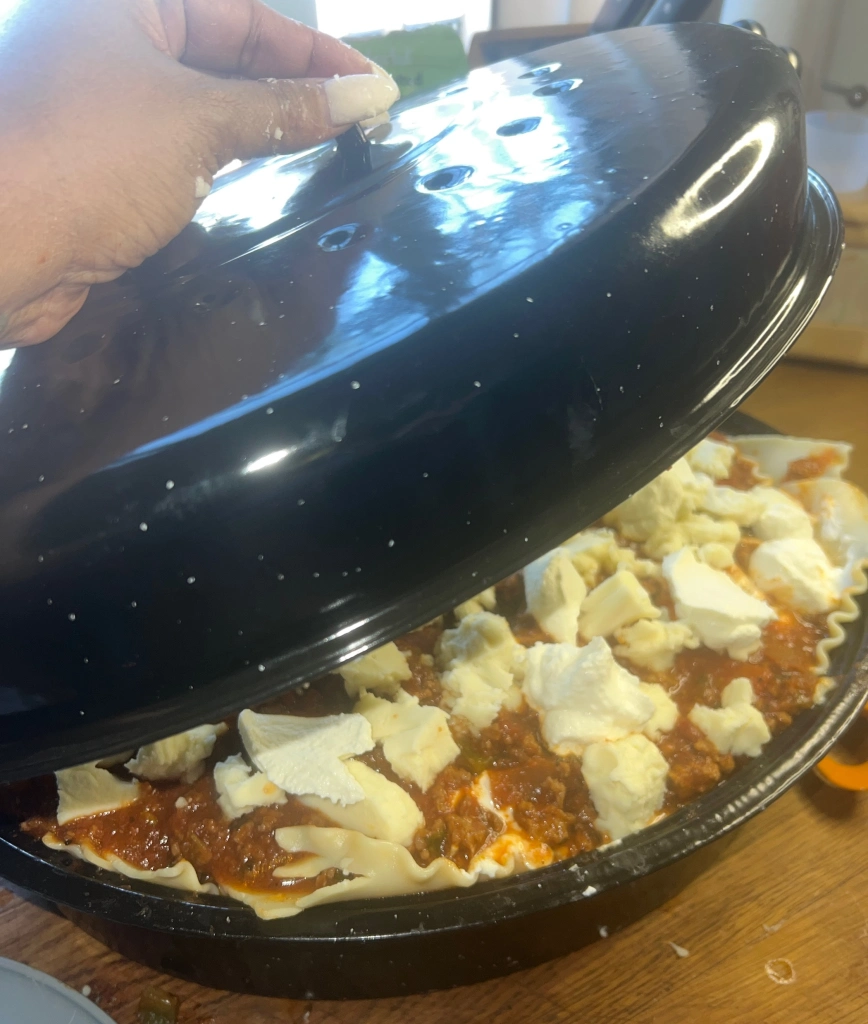
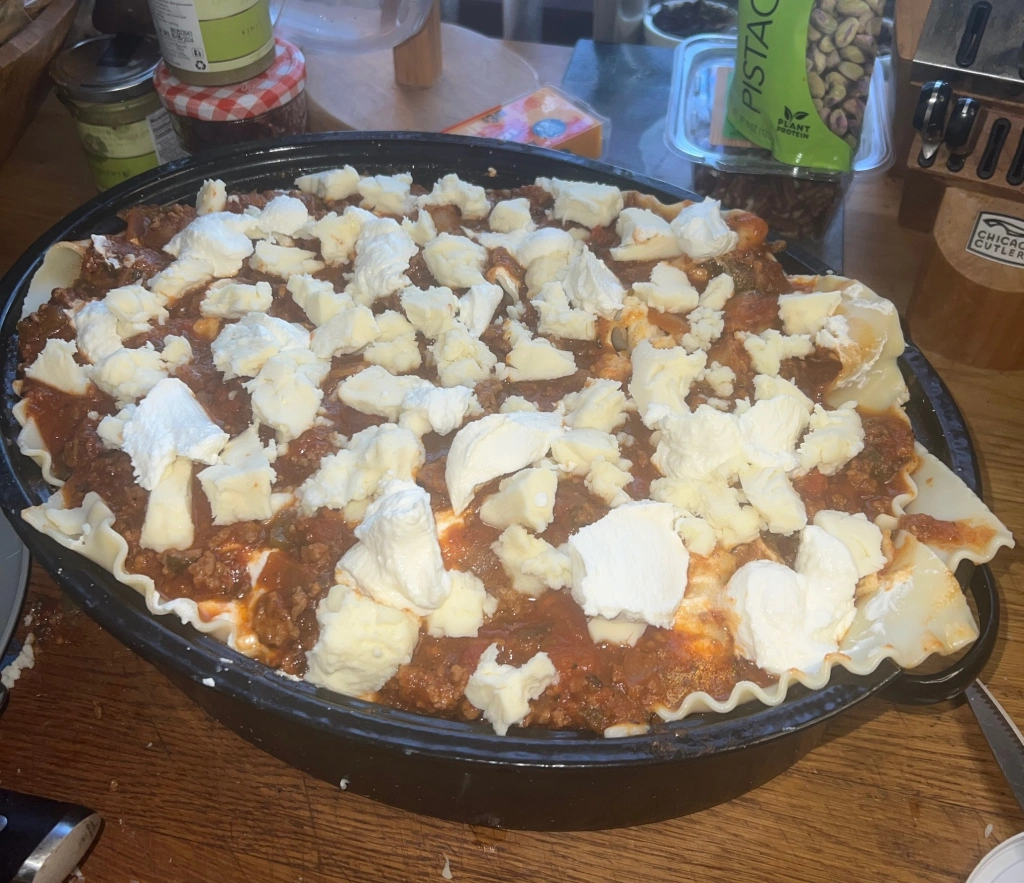
* Layering
Bake for 45 minutes.
I will definitely make this lasagna again. My family loved it! It gave me some joy, passing on a tradition.
I’m use to baking during the holidays! But, instead of my usual pumpkin, sweet potato, or tart pies. I decided to go with some cookies. Plus, I felt like giving something personal as gifts this year to family, friends, and neighbors, shows love. God knows this world needs a lot of love right now, more than ever. The pandemic really changed this world in a negative way. So much sadness, death, the world is a much different place, than we knew before.
Ok! I’m gonna admit that this is my first time making butter cookies. However, the recipe that follows was tweeked a couple times, and will make a delicious cookie.
Ingredients
3 sticks of butter (salted or unsalted)
3 to 3 1/2 cups of AP flour, also for kneading
1 3/4 cup powdered sugar
4 egg yolks
2 tablespoon vanilla extract
1 teaspoon salt
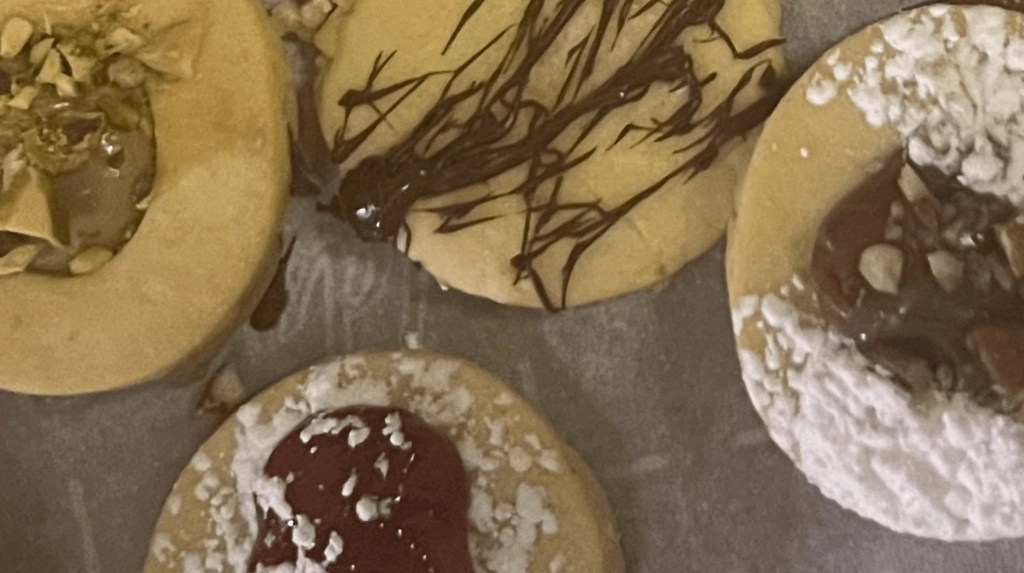
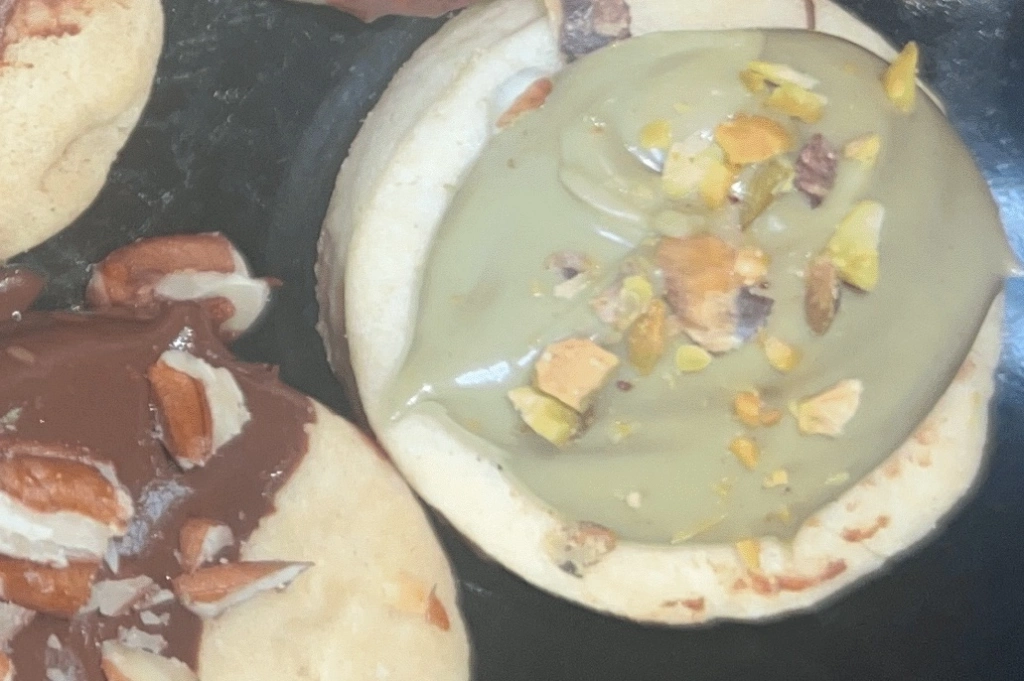
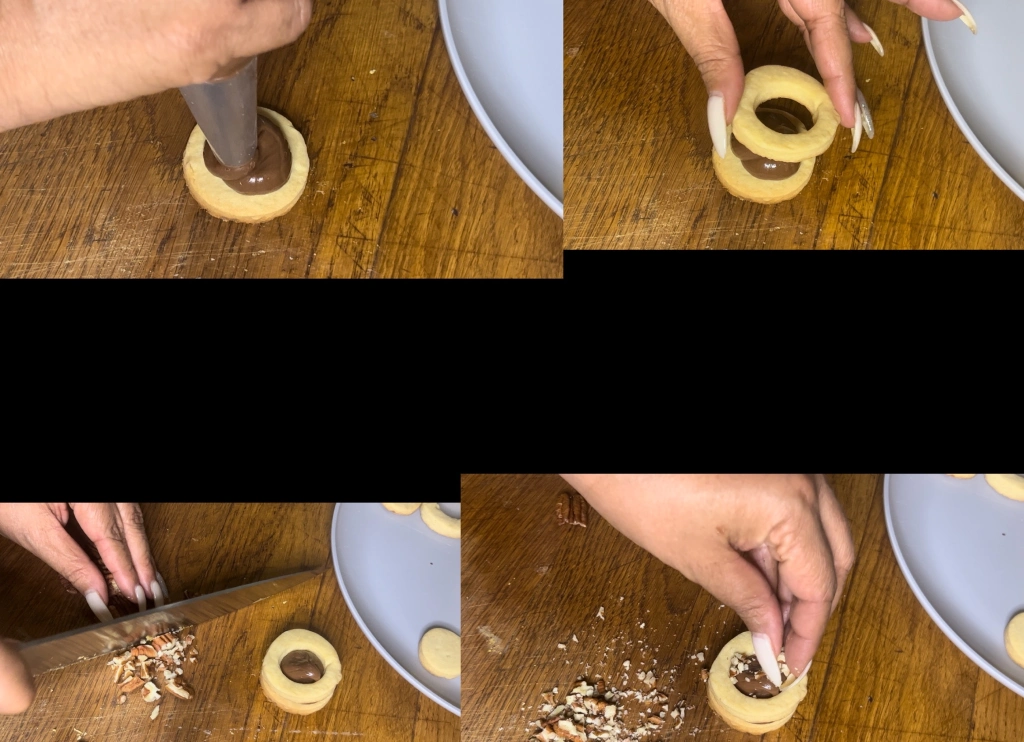
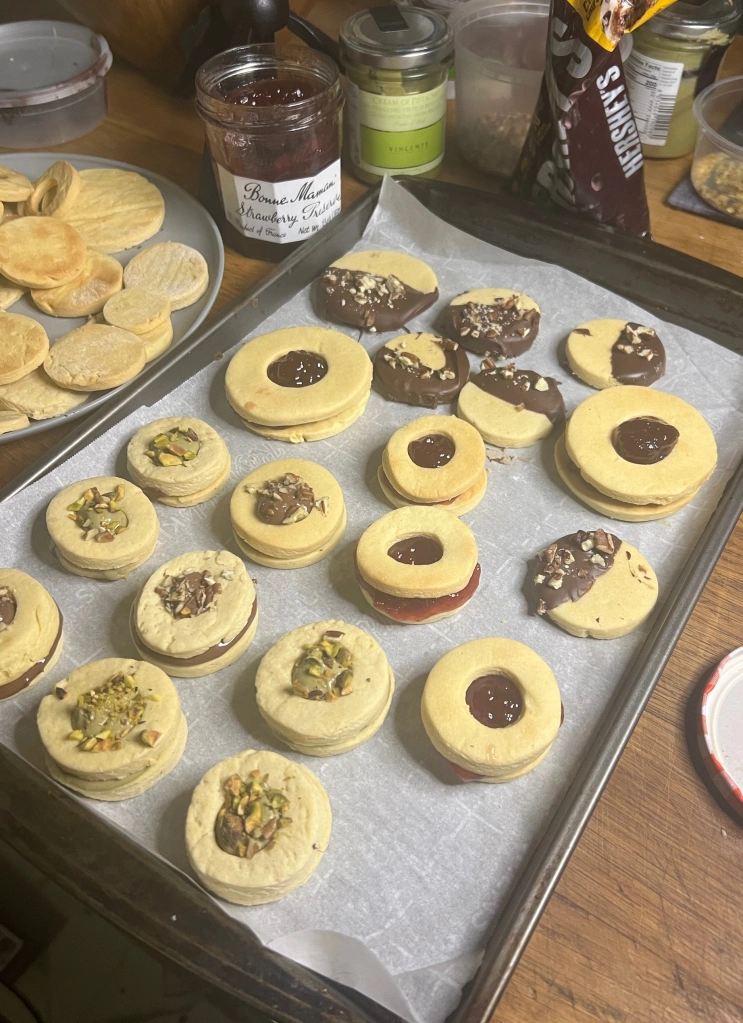
Toppings
Pistachio cream*
Pistachio nuts*
Nutella
Pecans
Semi sweet chocolate chips
Strawberry preserves (jelly)
How to make the dough
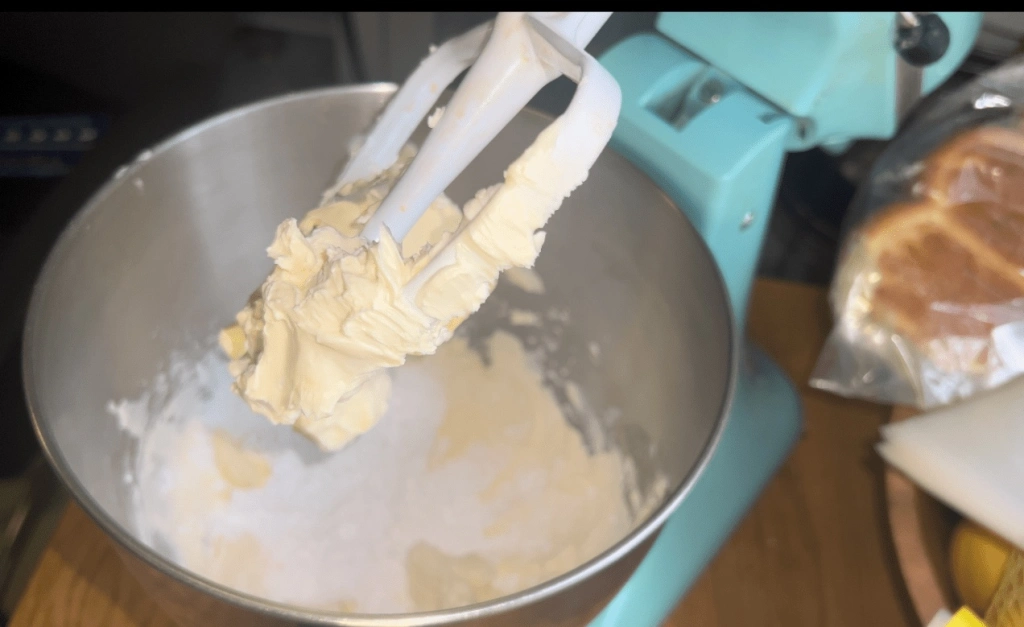
I like to use my kitchen aid with the flat paddle. However, you can use a hand mixer. The butter should be a room temperature. mix butter and powdered sugar, then the flour (add a cup at a time). Then go ahead and add your vanilla and the egg yolks.
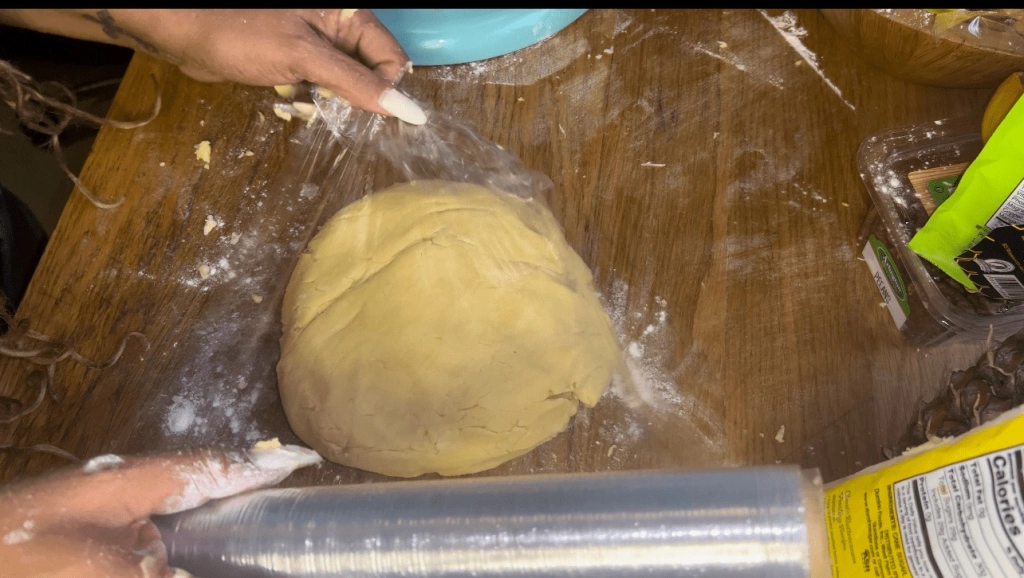
Refrigerate 2 hours or overnight is best.
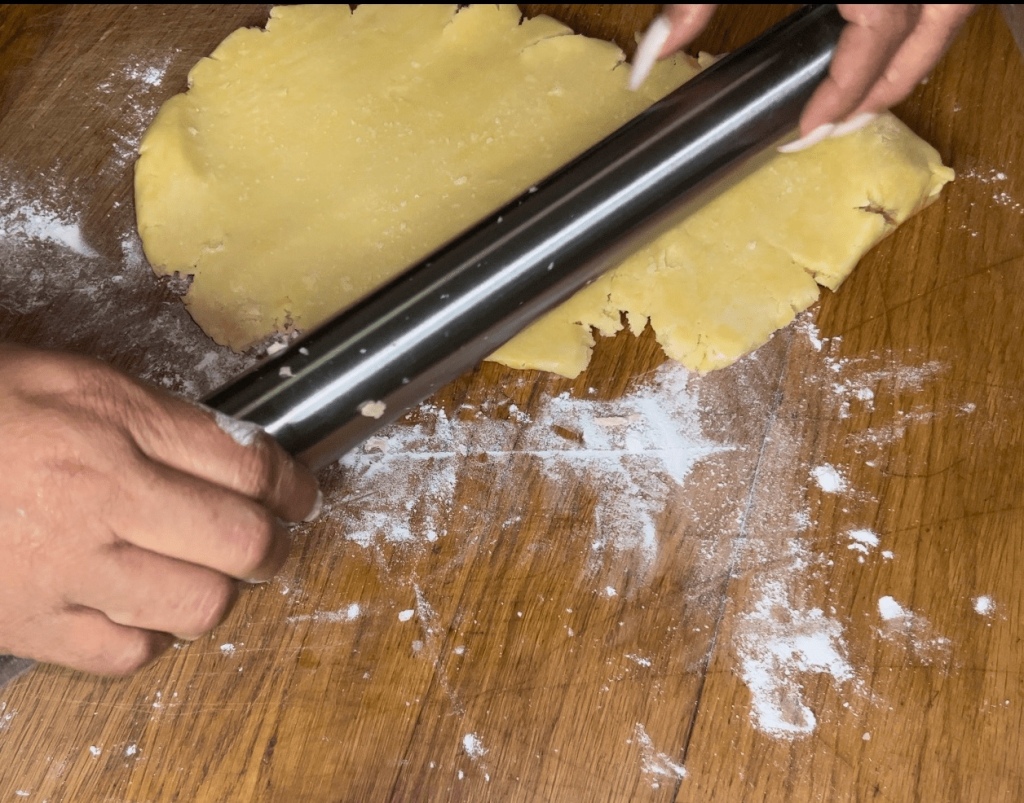
If the dough is too creamy, add a little bit more flour, because the consistency of the dough should be able to form a ball.
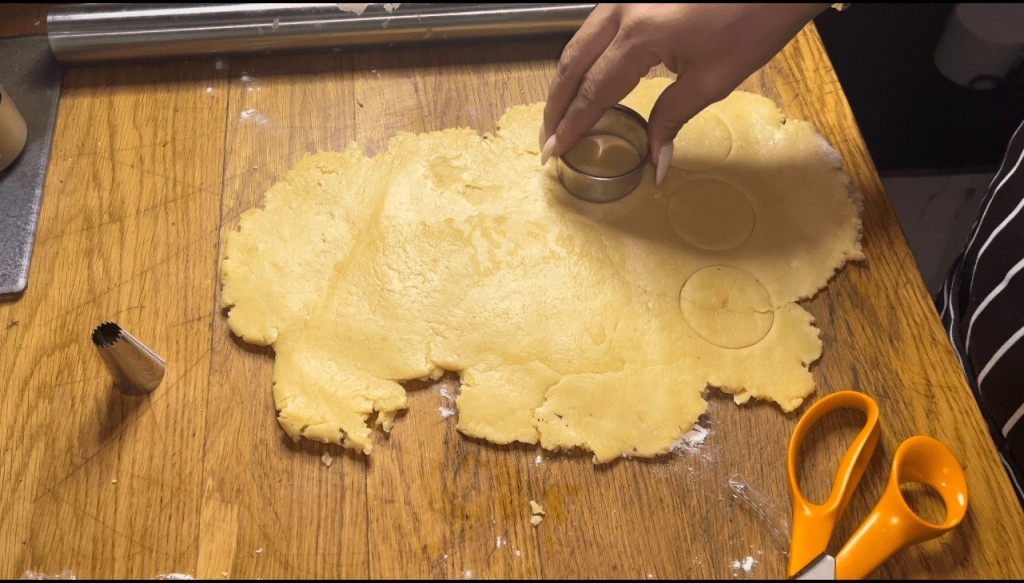
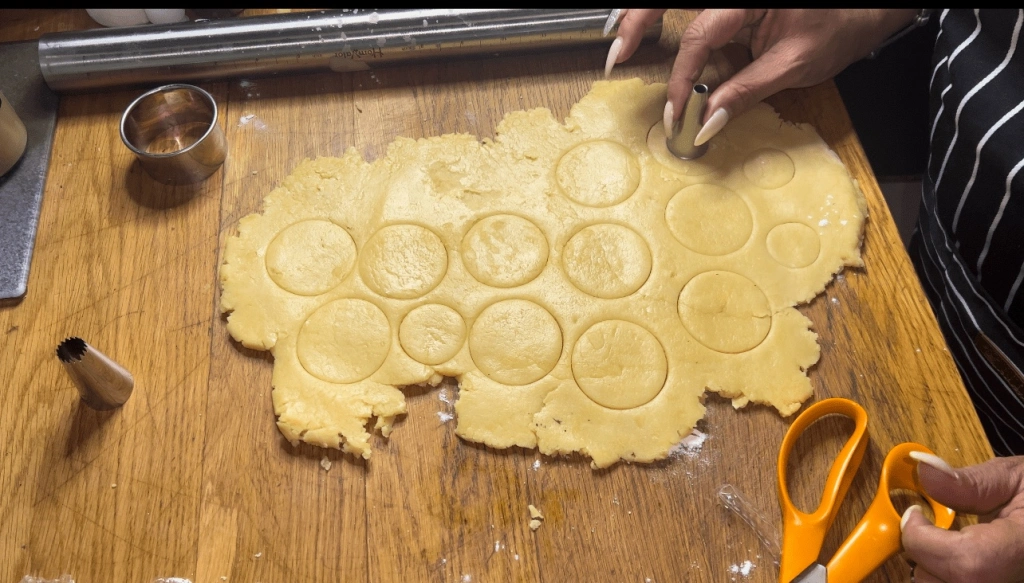
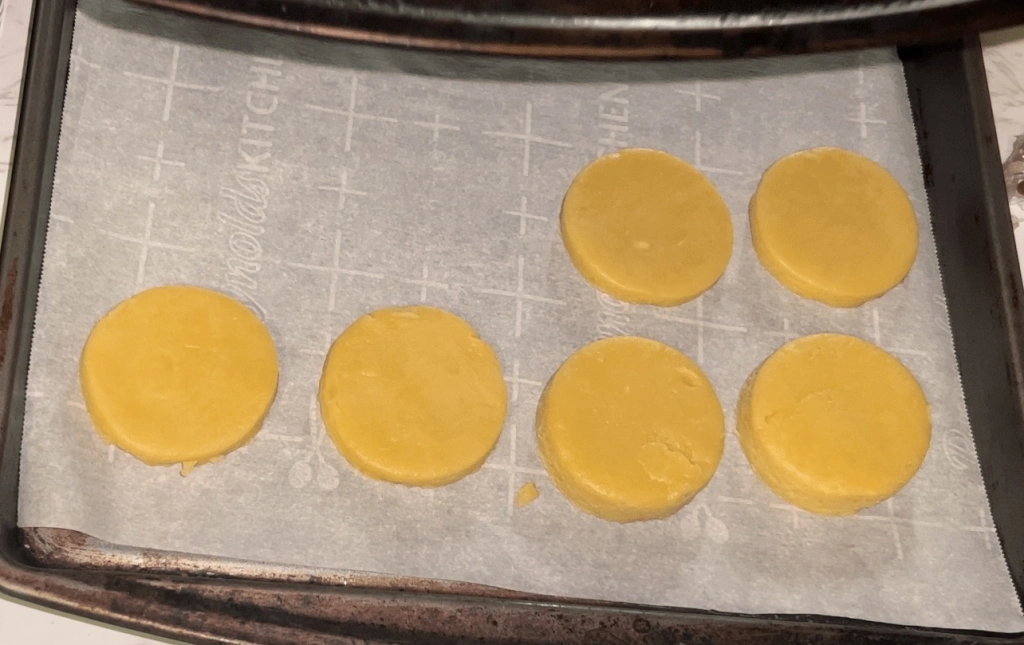
After cutting out the dough, place on a baking sheet with parchment paper.
Bake at 325 degrees for a total of 22 minutes, turning them over midway during baking.
*Let cool, and get your creative juices flowing. Some of my cookie toppings I got from Amazon, especially the gourmet pistachio cream and pistachios already out the shell. And of course your local supermarket.
I enjoyed making these cookies, but it gave me real pleasure when my family and friends enjoyed eating them, and said they tasted good.

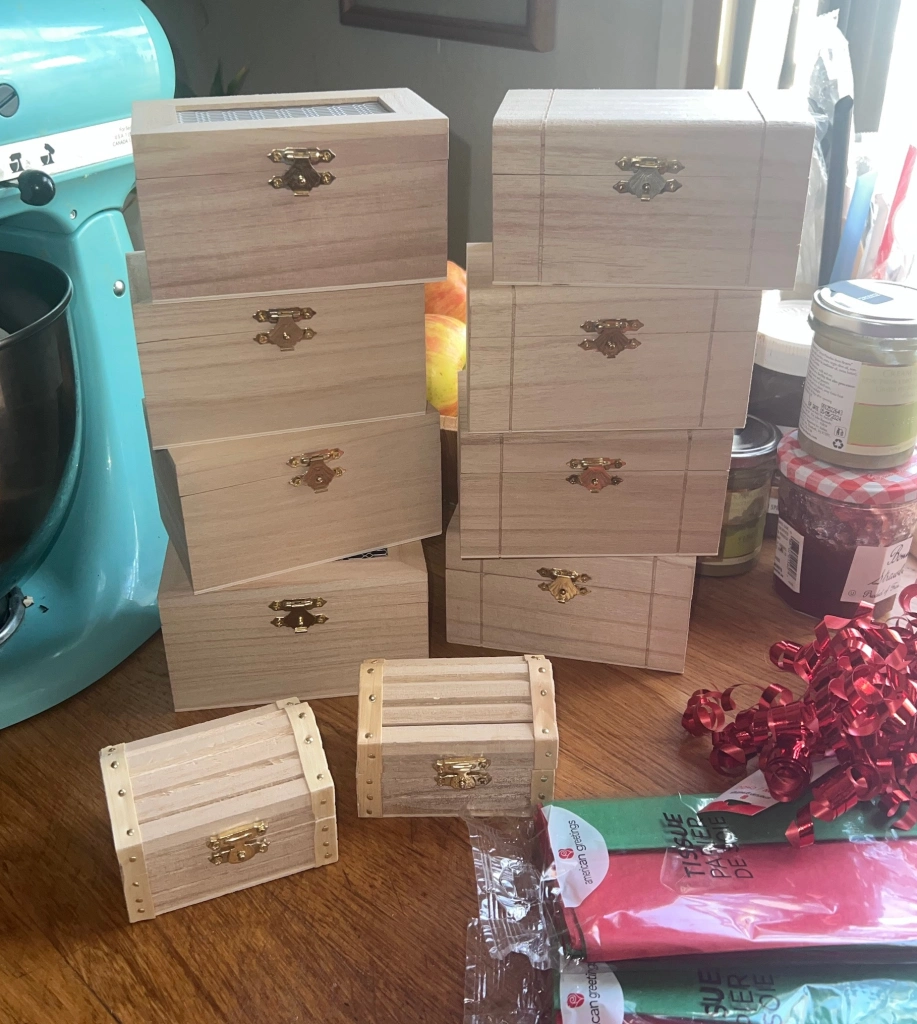
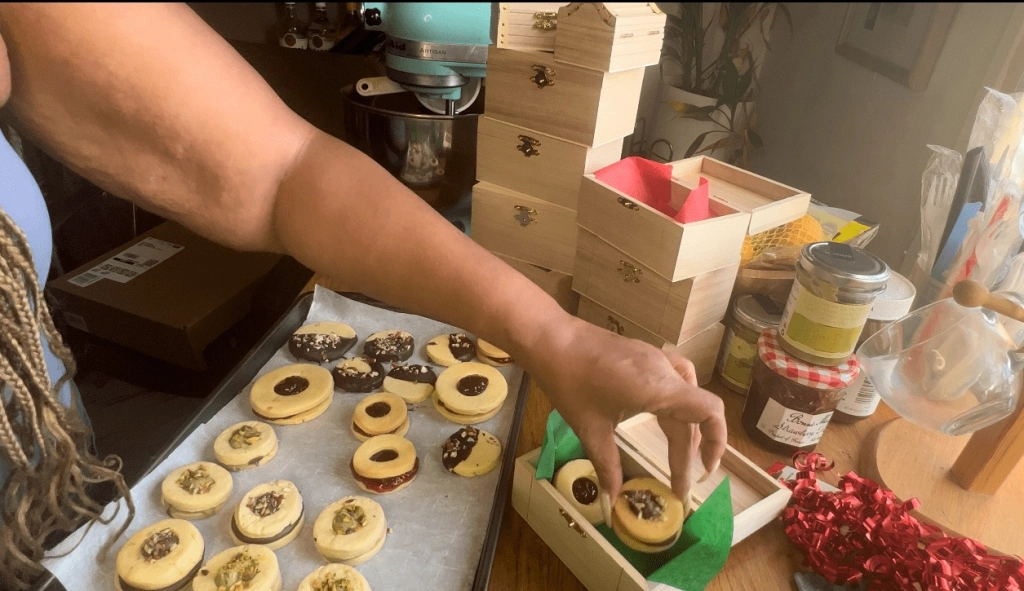
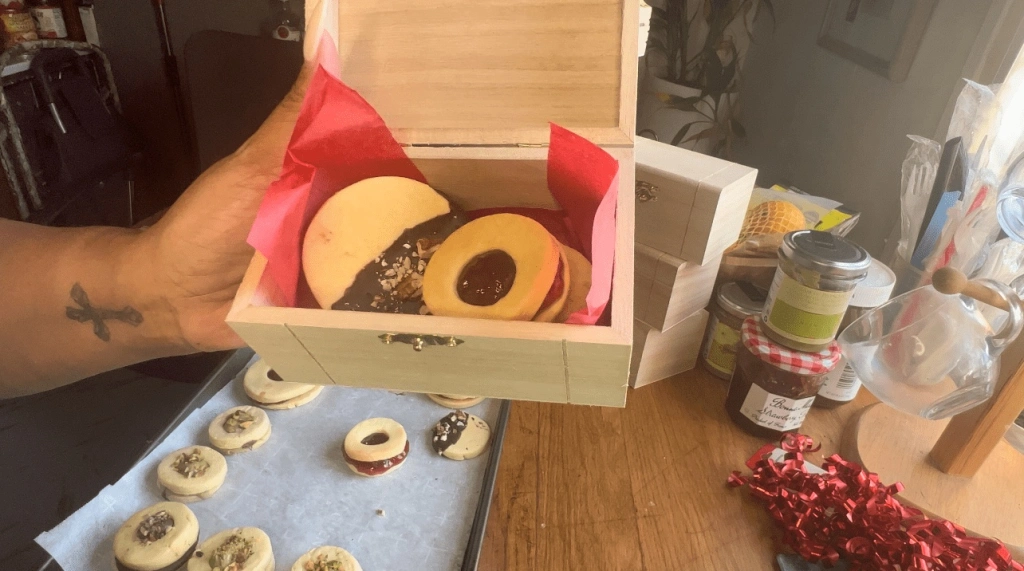
I got these jewelry boxes from Amazon. These cute little boxes can hold up to 4 to 5 cookies.
Merry Christmas!
*Amazon
